Some van mods require a ton of research. Some van mods are crazy expensive. And then there are the mod mods: Mods that are modest in their demands upon your time and modest in their demands upon your cash.
I learned about most of these mods, perhaps all of them, from the Noovo Facebook Group, which is the ultimate source for interacting with other owners.
Cup Holder
Van-world is full of entrepreneurs who see a shortcoming in their own van and then make a product that removes that shortcoming for themselves and for others. That is the case here with Rob and Sheri Grassi, who developed what they call the CHA, the Cup Holder Accessory.
The problem they solved is a crazy design decision by Ram to put the cupholders way down by the floor, requiring drivers to reach down, to lower their head while driving, in order to reach their beverage. That doesn’t sound safe.
Is it as big a deal as it sounds? It is. To demonstrate this, I sat in the driver’s seat and put one of three different-sized beverage containers into the Promaster cup holder and then reached for the container. I could not touch any of them without bending forward. Sitting up straight in the seat, I could not even touch them with my fingertips. My wife measured the distance between my fingertips and the edge of the beverage–see chart, below.
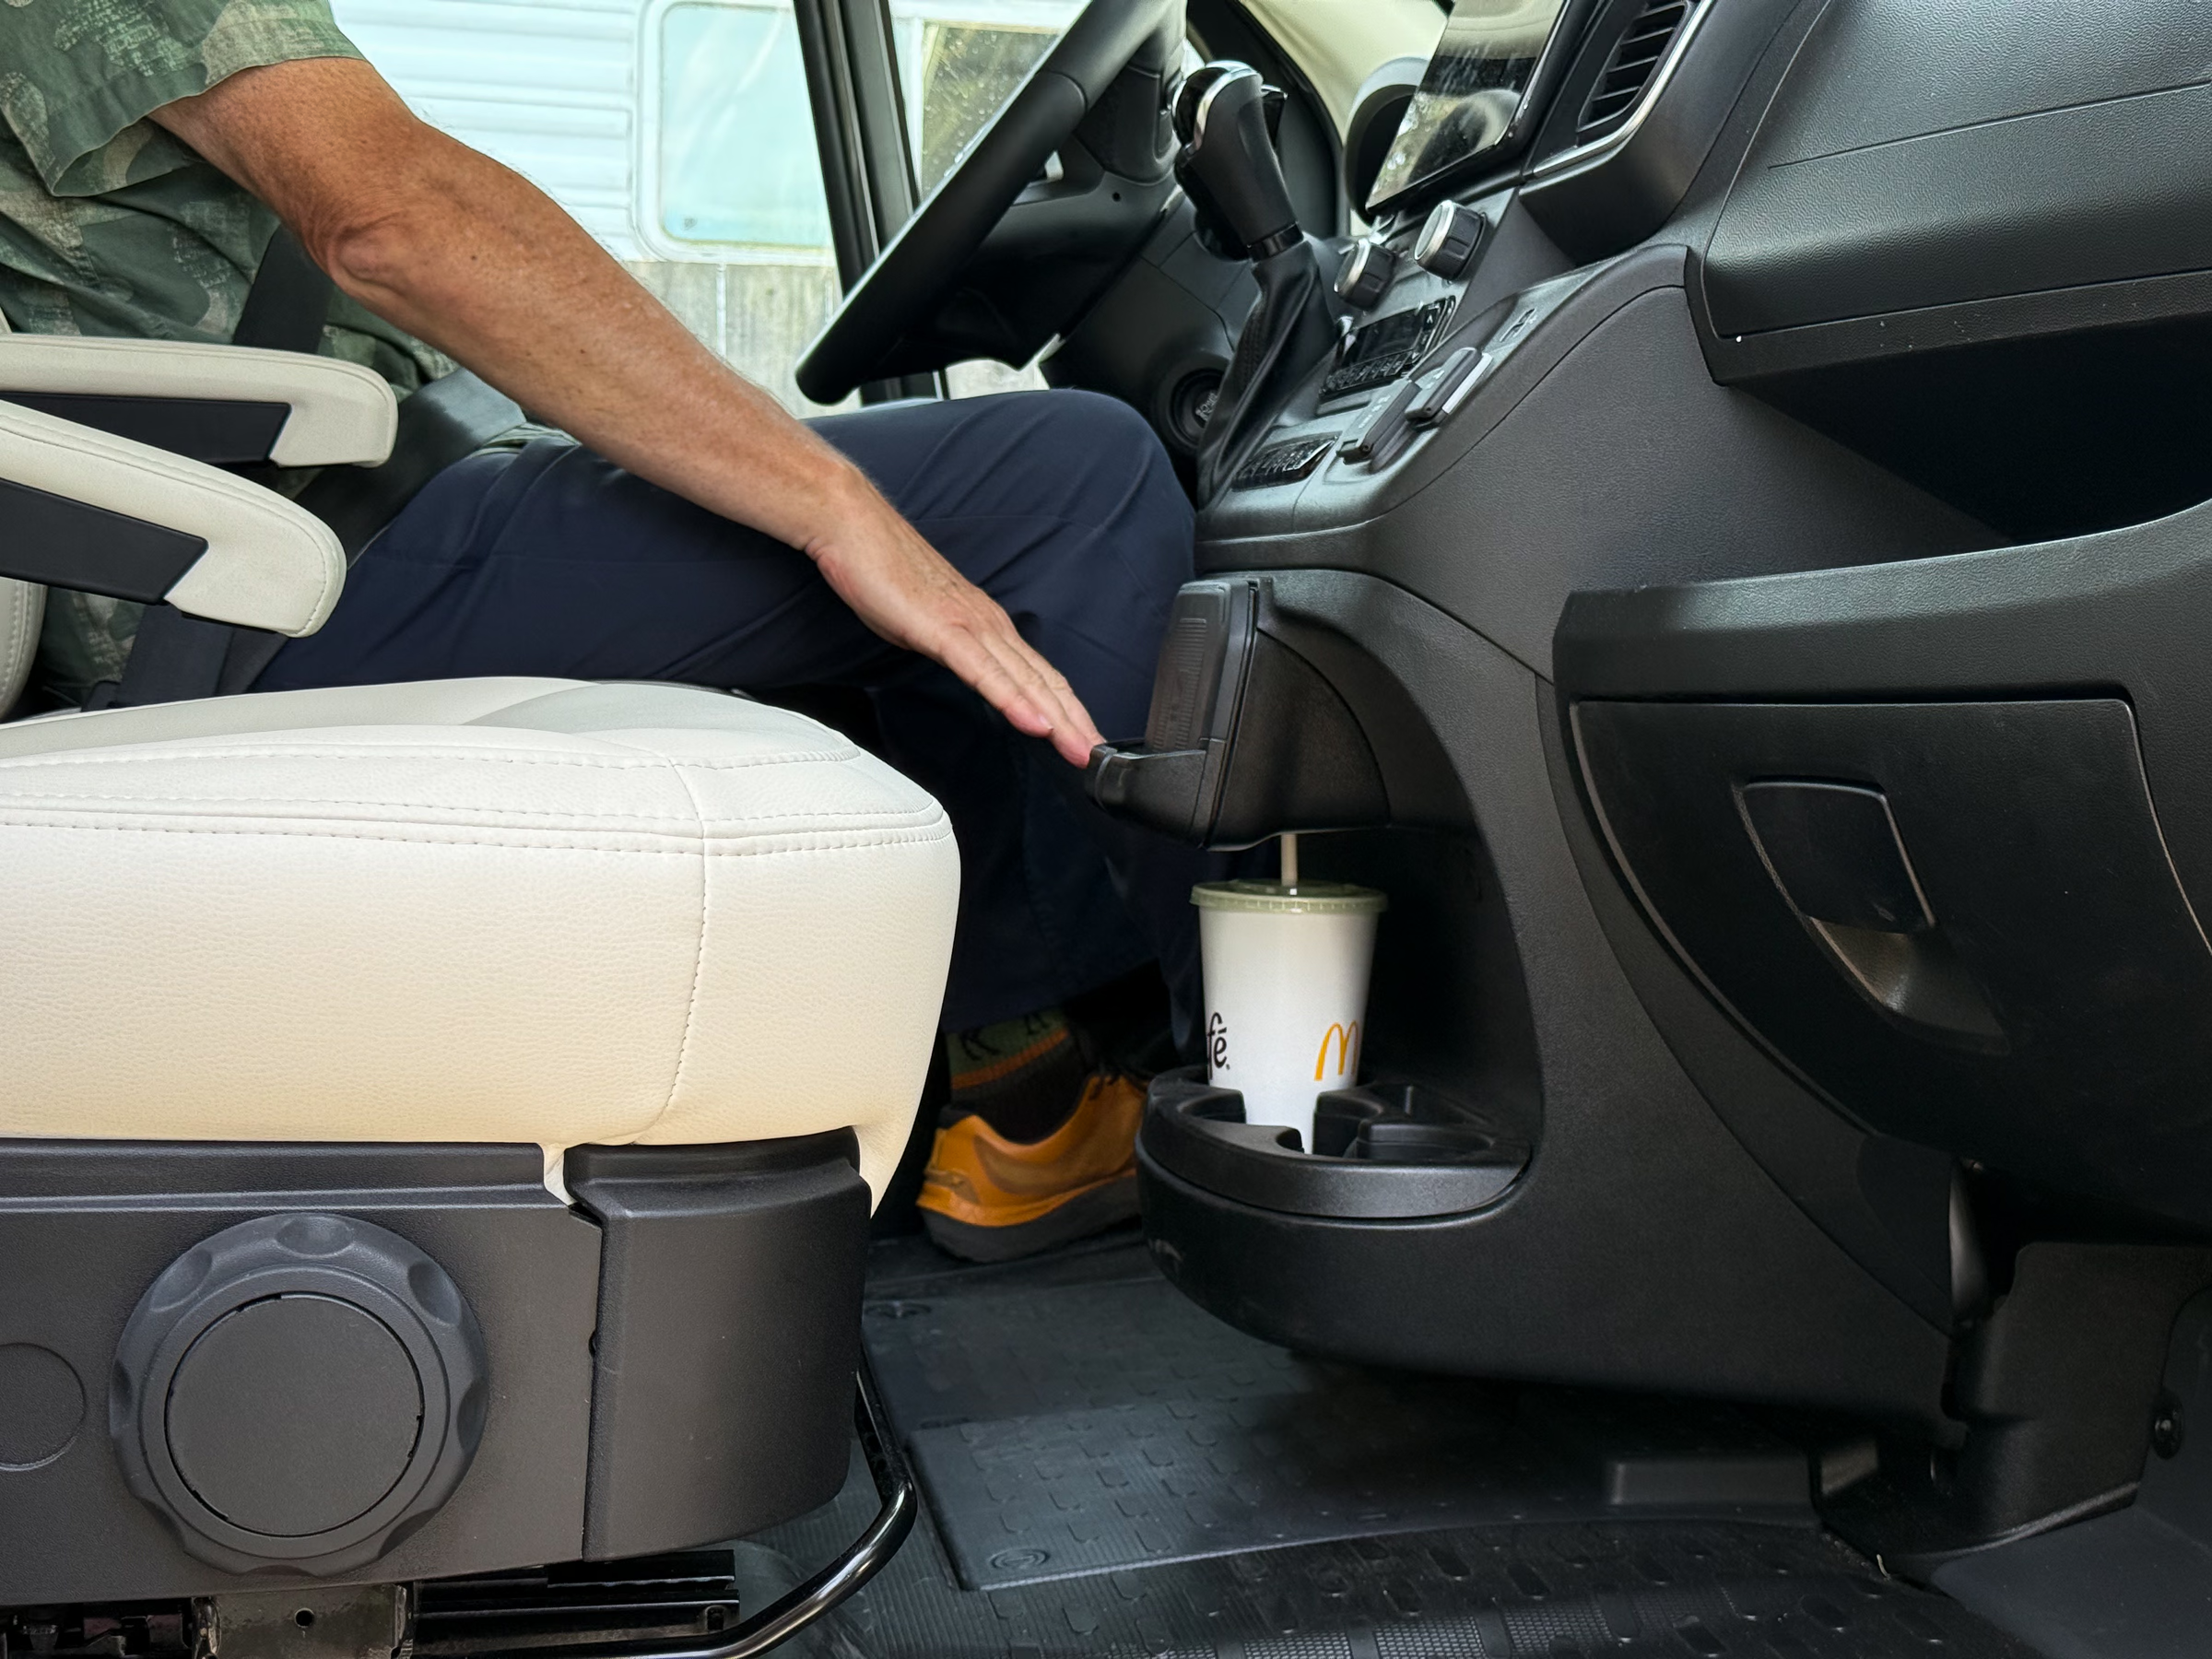
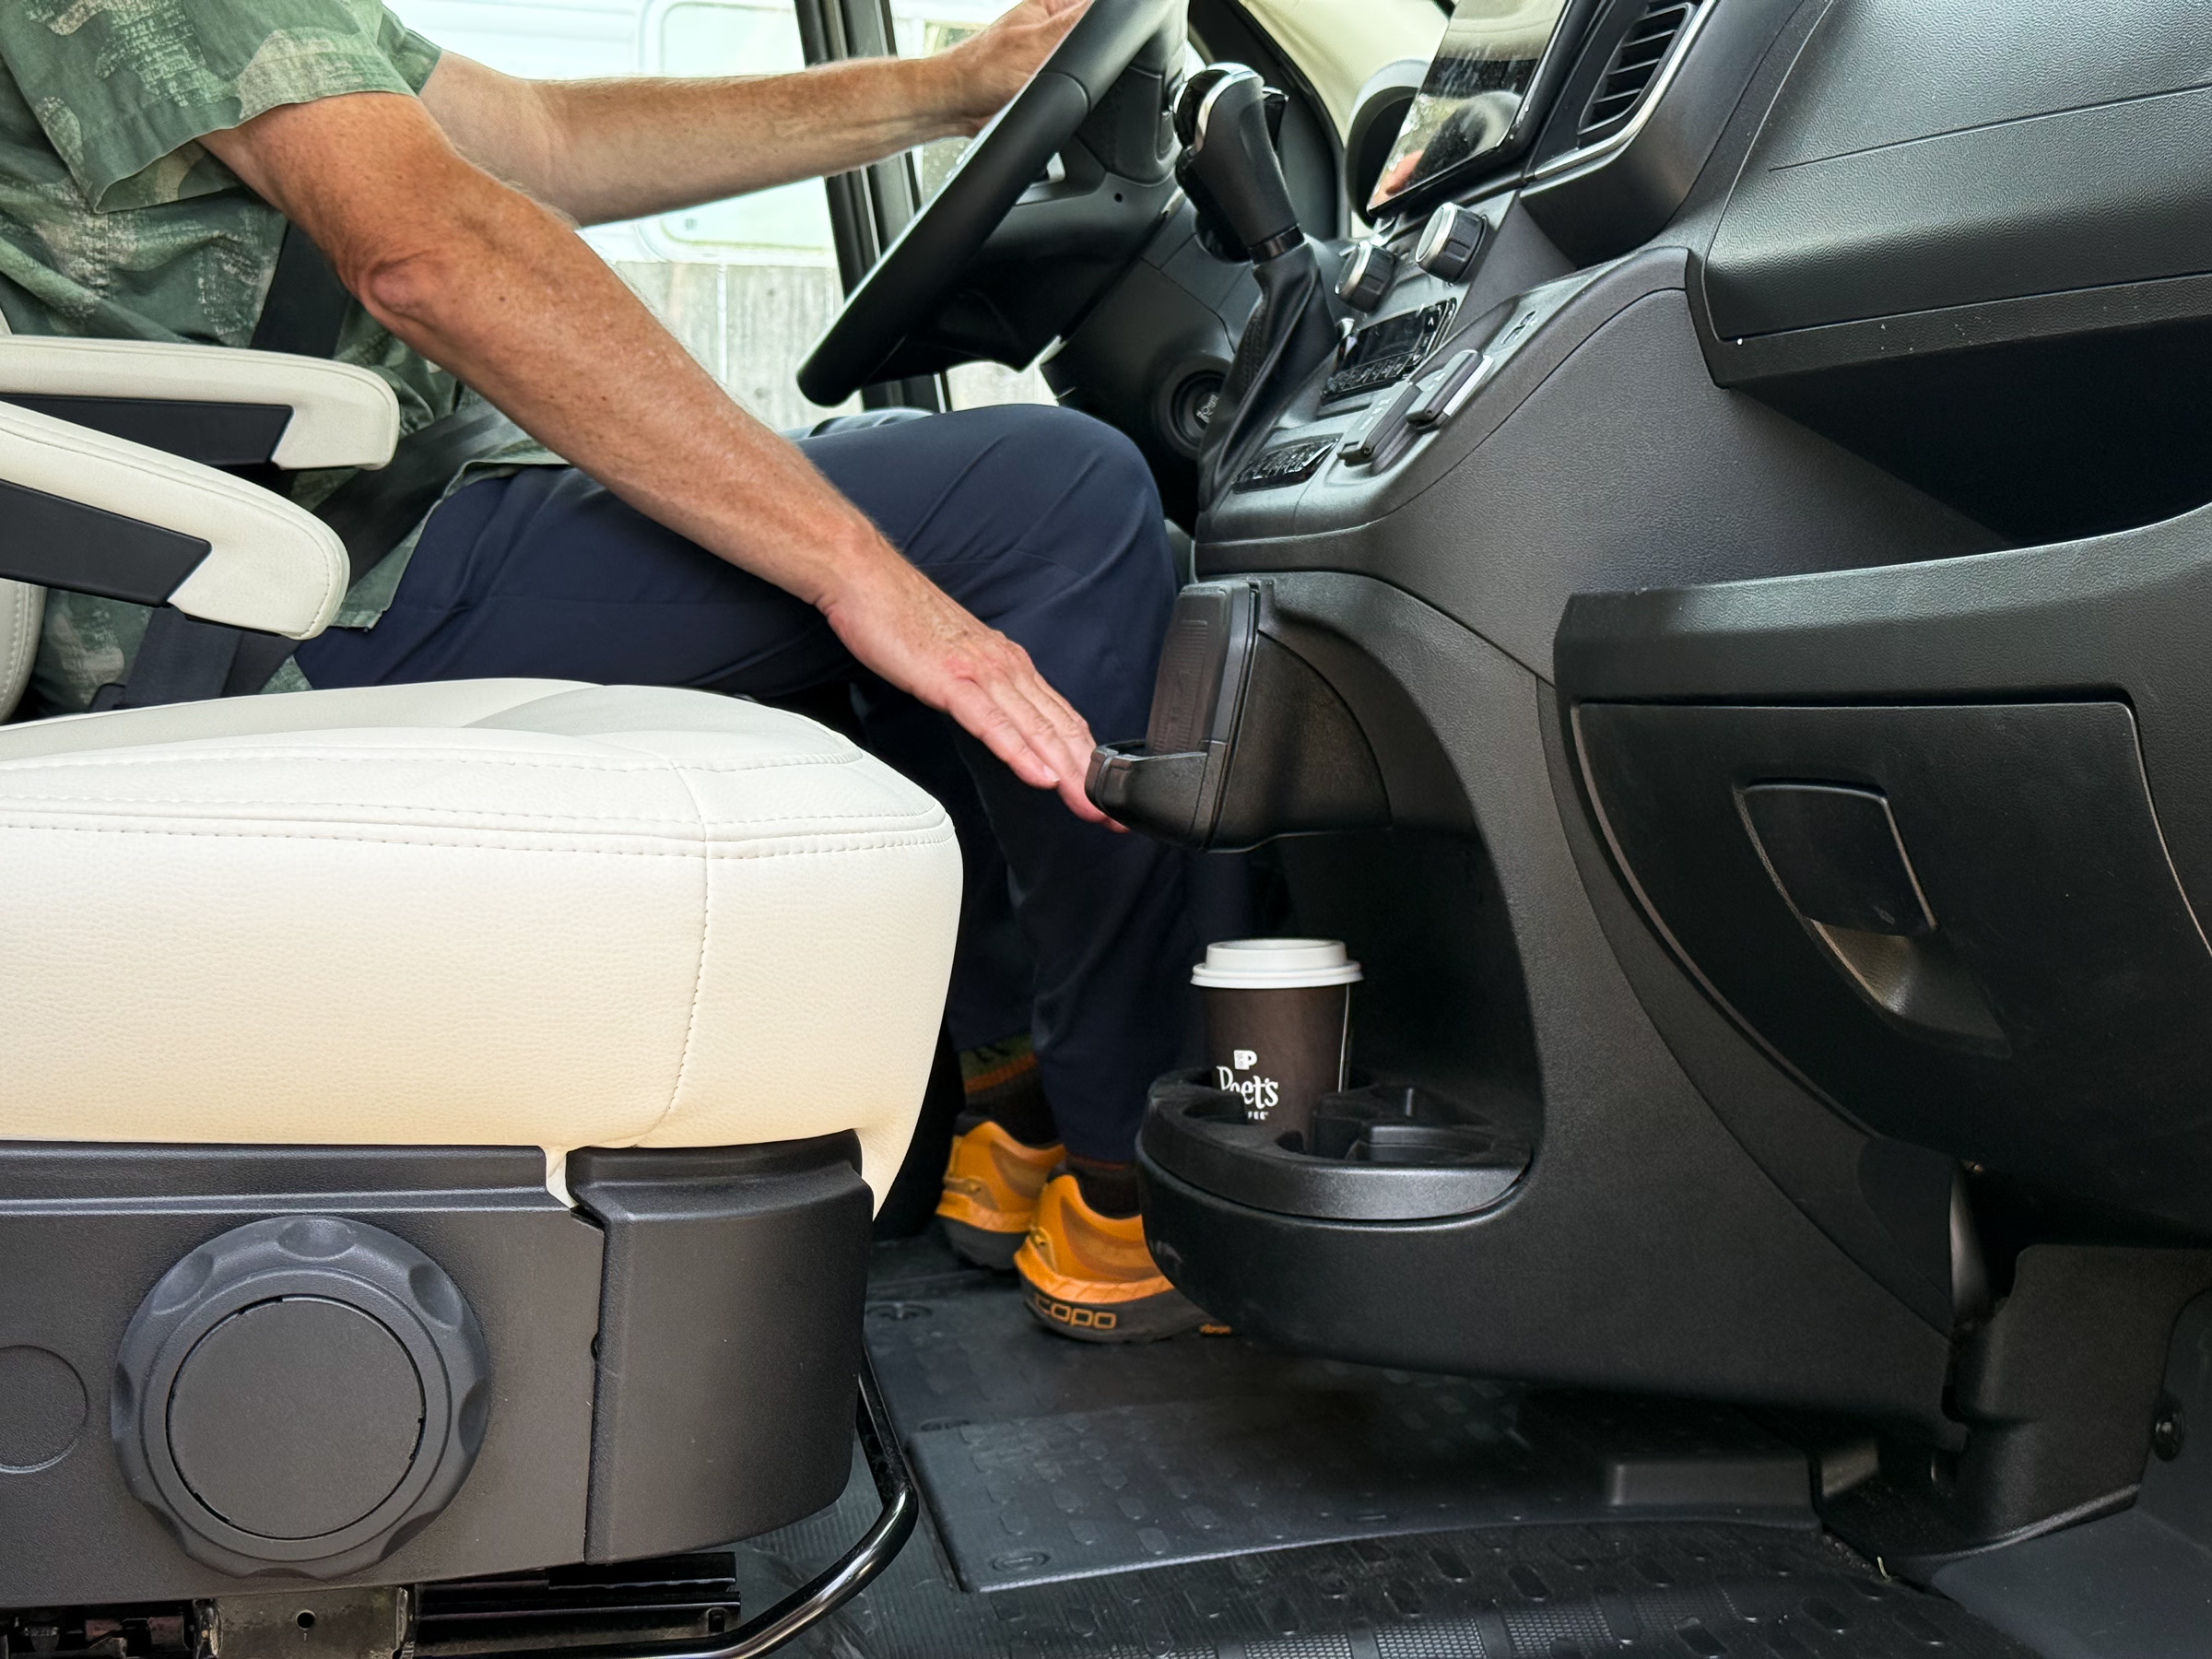
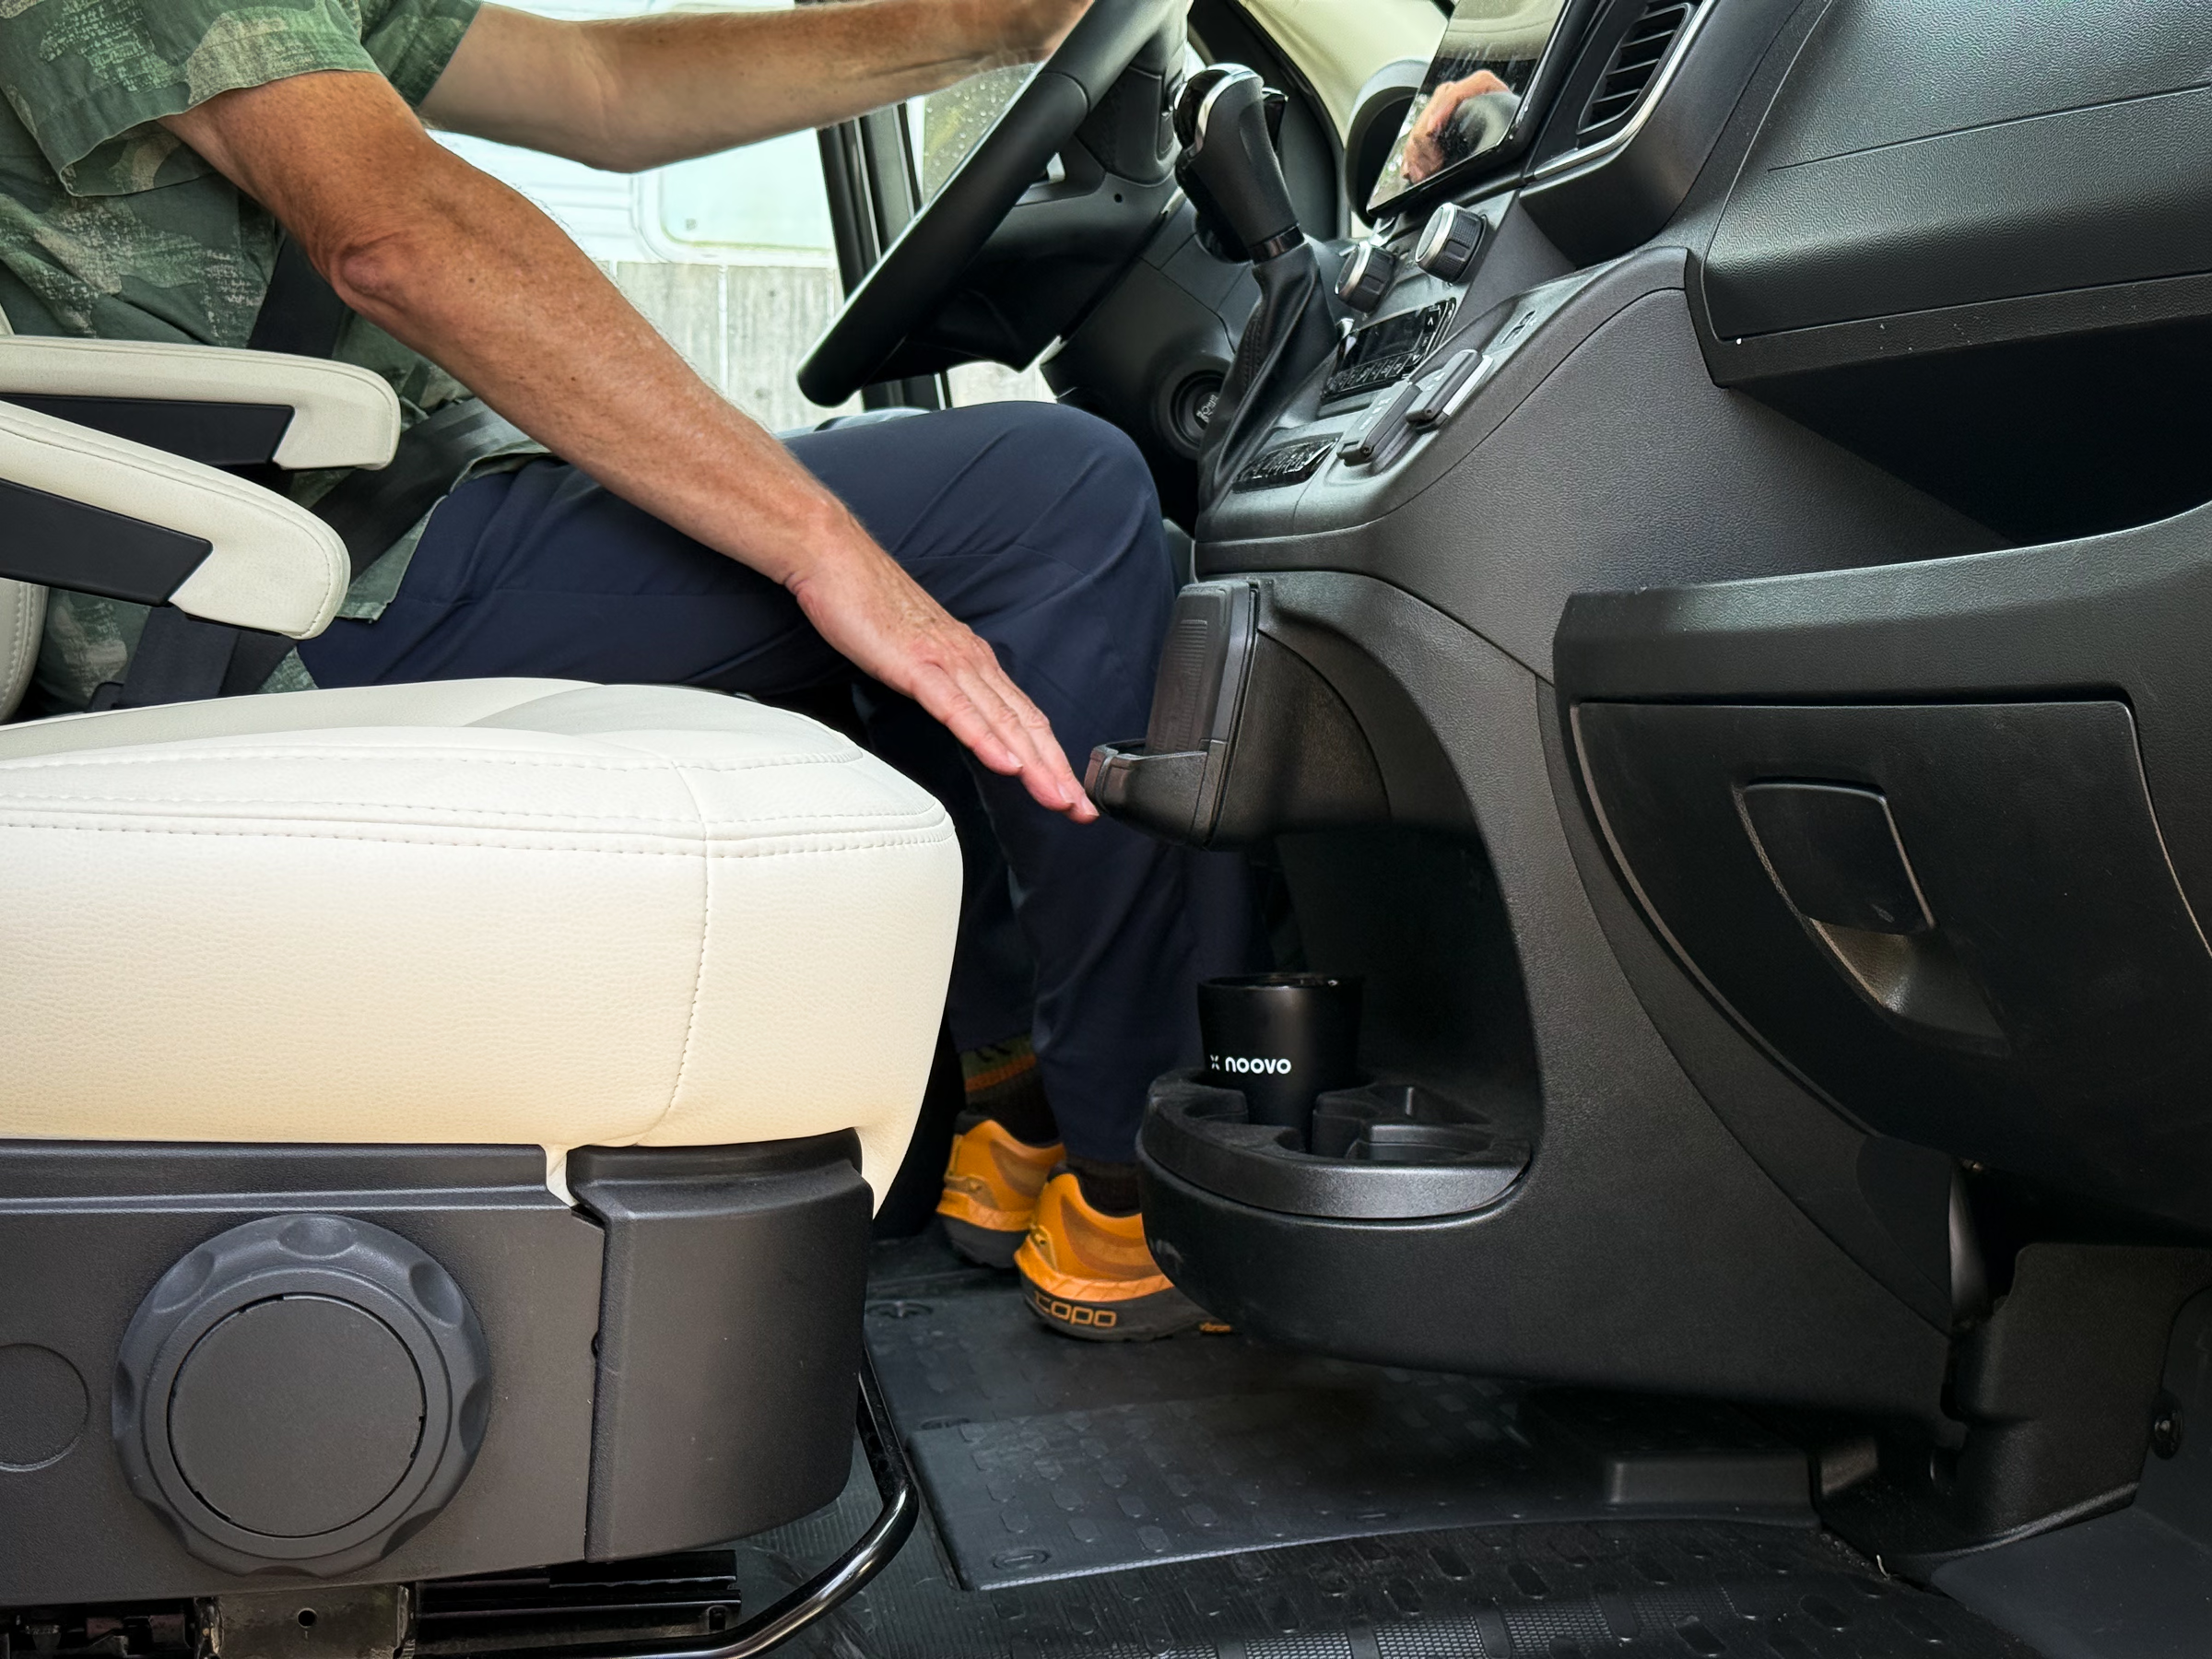
Of course, touching the top edge of a beverage container is not the same as picking it up, so we put each of the three cups back into the Promaster cup holder and measured the distance I had to lower my head in order to grasp each container. It’s not a small distance, and feels dangerous to do when driving, especially if there is wind, traffic, or turns in the road. Try lowering your head eight inches or so forward and to one side when driving and see if you think it feels safe.

By contrast, with the CHA installed, the beverage is right there, easily within reach, along with a slot for storing your iPhone. The CHA does block access to the Promaster’s charging pad (but it is said that the pad did not work well anyway), nor does not block easy access to the rear of the van from the driver or passenger seat.

Our unit did not fit perfectly along the contours of the dashboard—there was always a small, uneven gap no matter what we did—and so we decided to embrace the gap and place the bottom edge of the CHA (which rests on the charging pad) into the groove in the pad, to make the gap even and easily cleaned, when needed. Installation was a matter of screwing in two screws, that’s it.
Cost is $119 from Rvisiongear.com
Side door handle and door stopper
These next two mods are from the same company. The two products of theirs that I installed to improve the functionality of the sliding side door.
The first might be the easiest mod you’ll ever make. The Promaster’s standard handle on the inside of the van is small and a little awkward to use. If only it was a little longer it would provide a great deal more leverage, making it much easier to open the van door. Boom! OpenGlass’s replacement handle is longer and well-made—it looks and feels like a factory part.
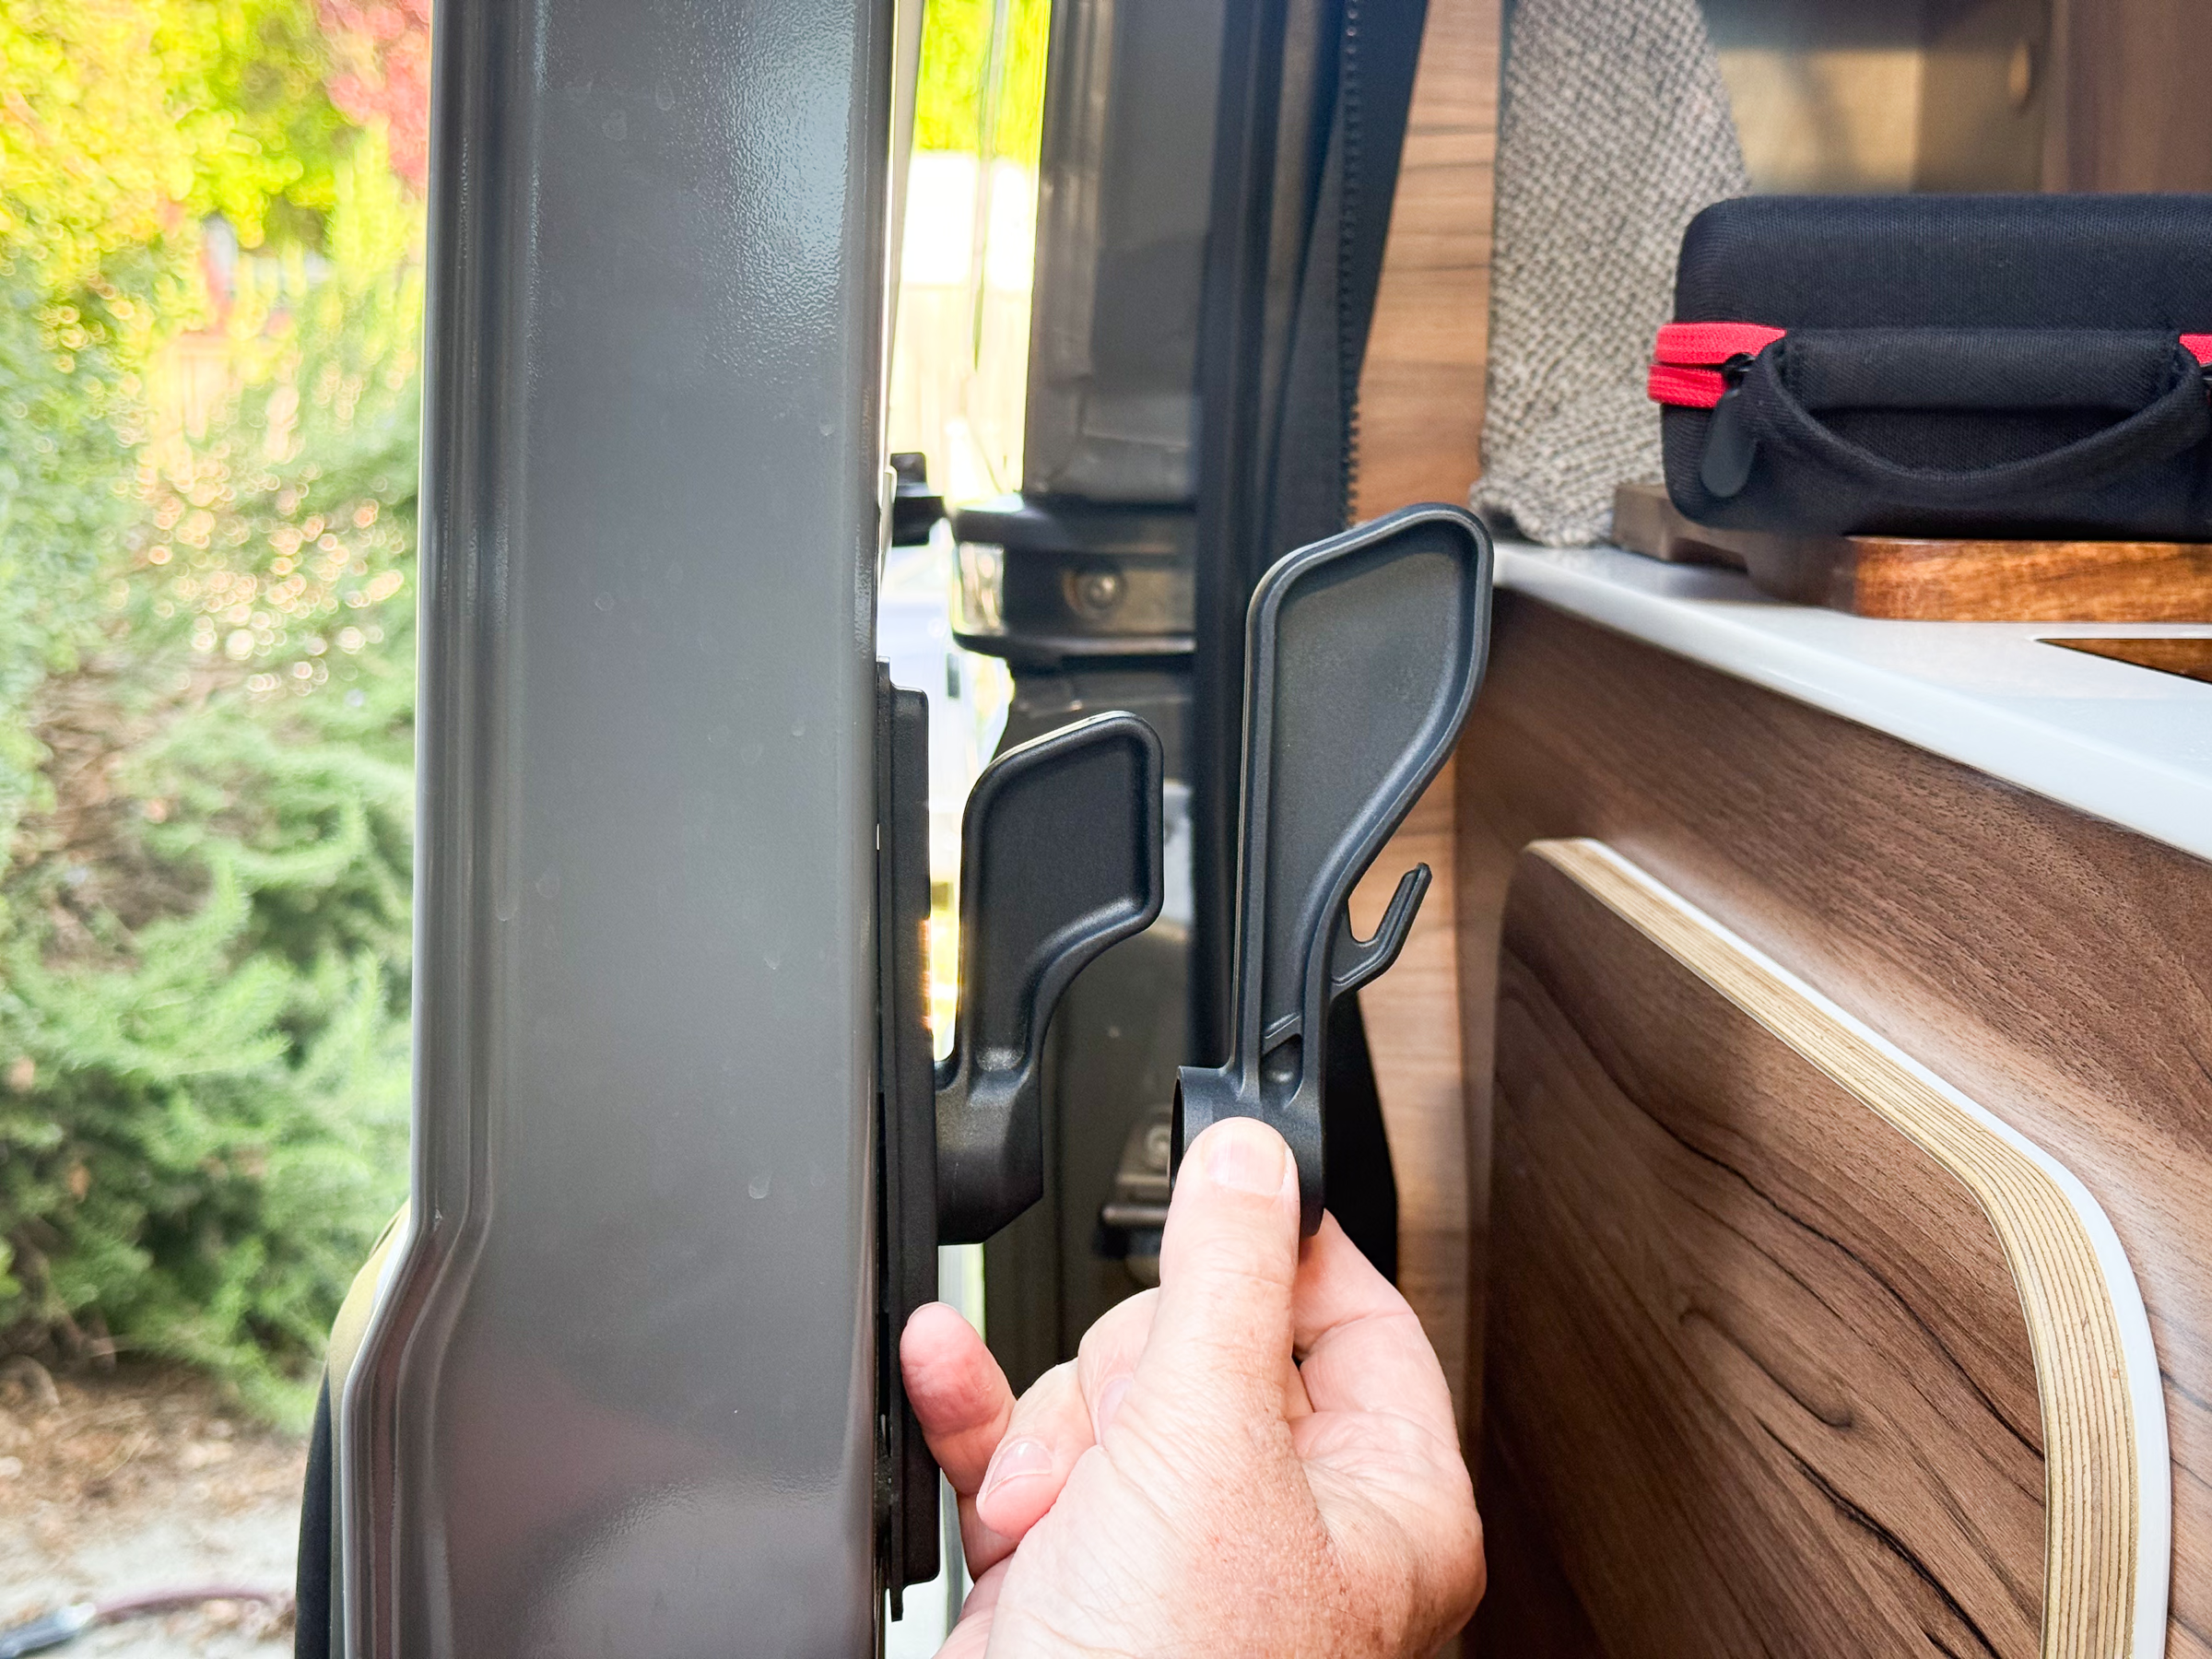

To install, you just use an Allen wrench to remove the old handle and, using the same screw, attach the new handle. Done.
You can buy it directly from OpenGlass or on Amazon. The price is $30 on the OpenGlass site right now but only $22 on Amazon as I write this.. Check both before you buy.
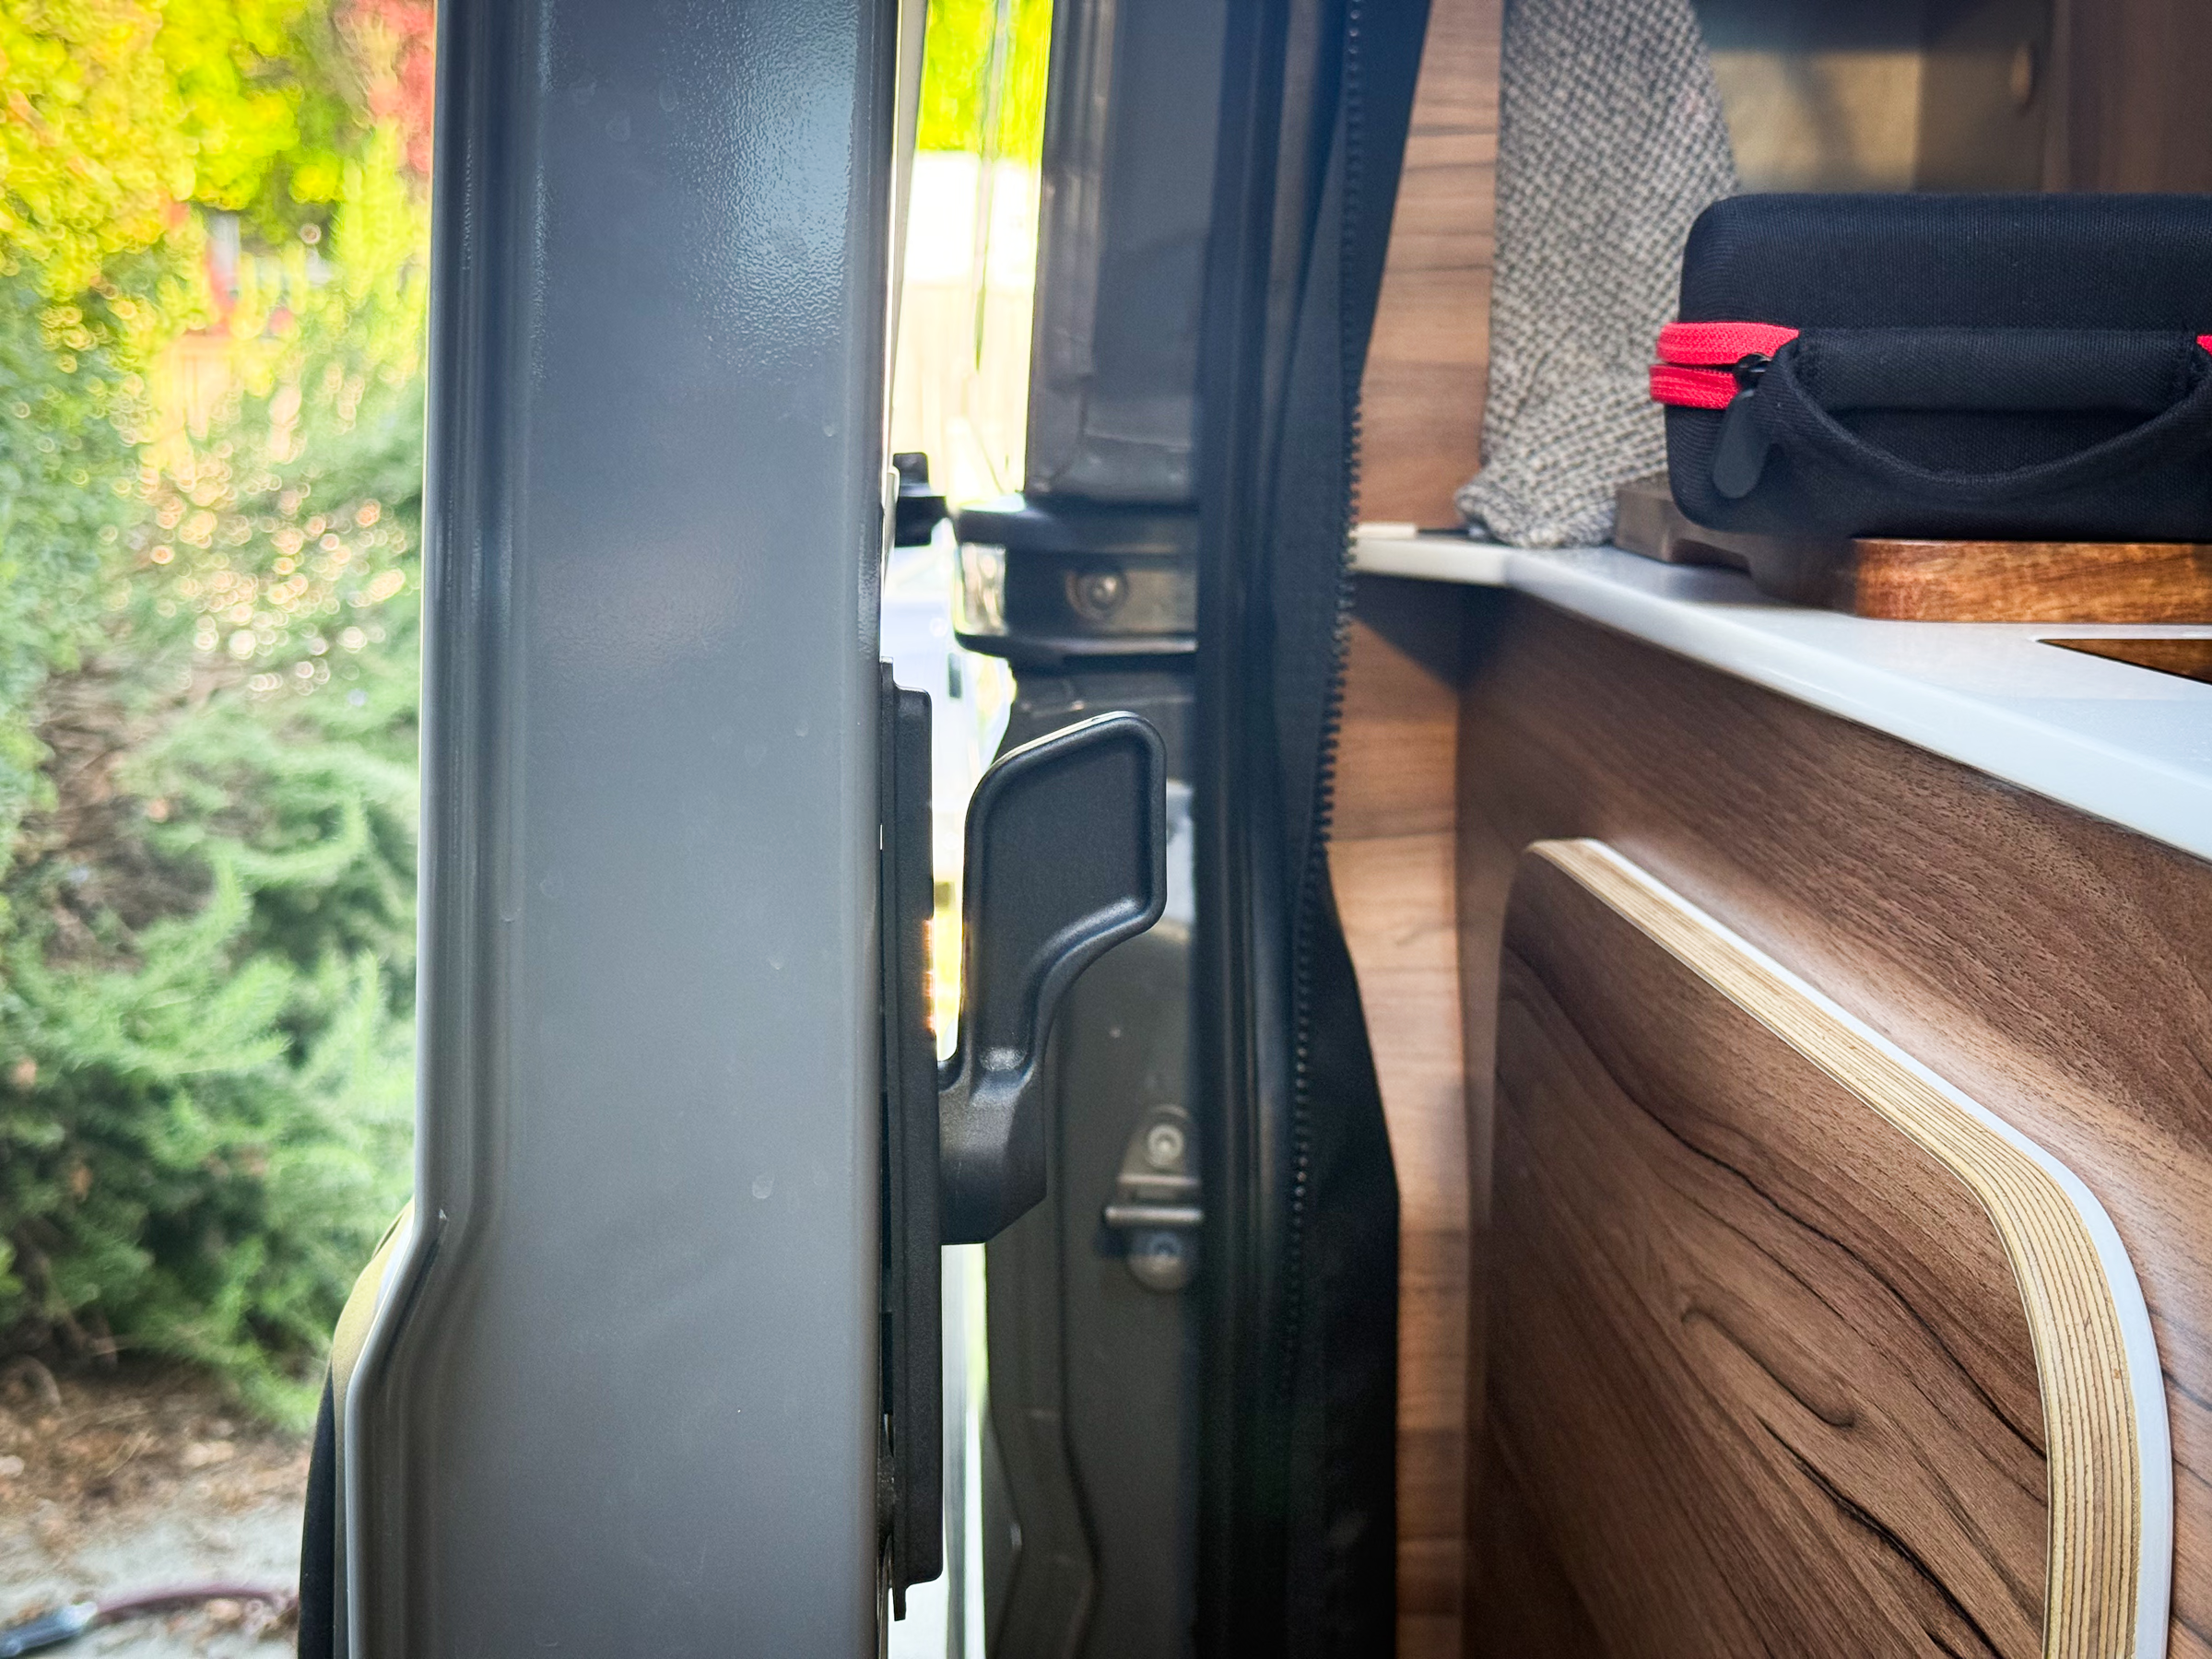
The other problem with the side door is that it is either all the way closed or all the way open. There is no middle position, though a middle position would better shield your van interior from wind and prying eyes. With OpenGlass’s sliding door stopper, you position an aluminum stop wherever you would like along the side door’s rail and epoxy it into position. Your side door now has a major upgrade.

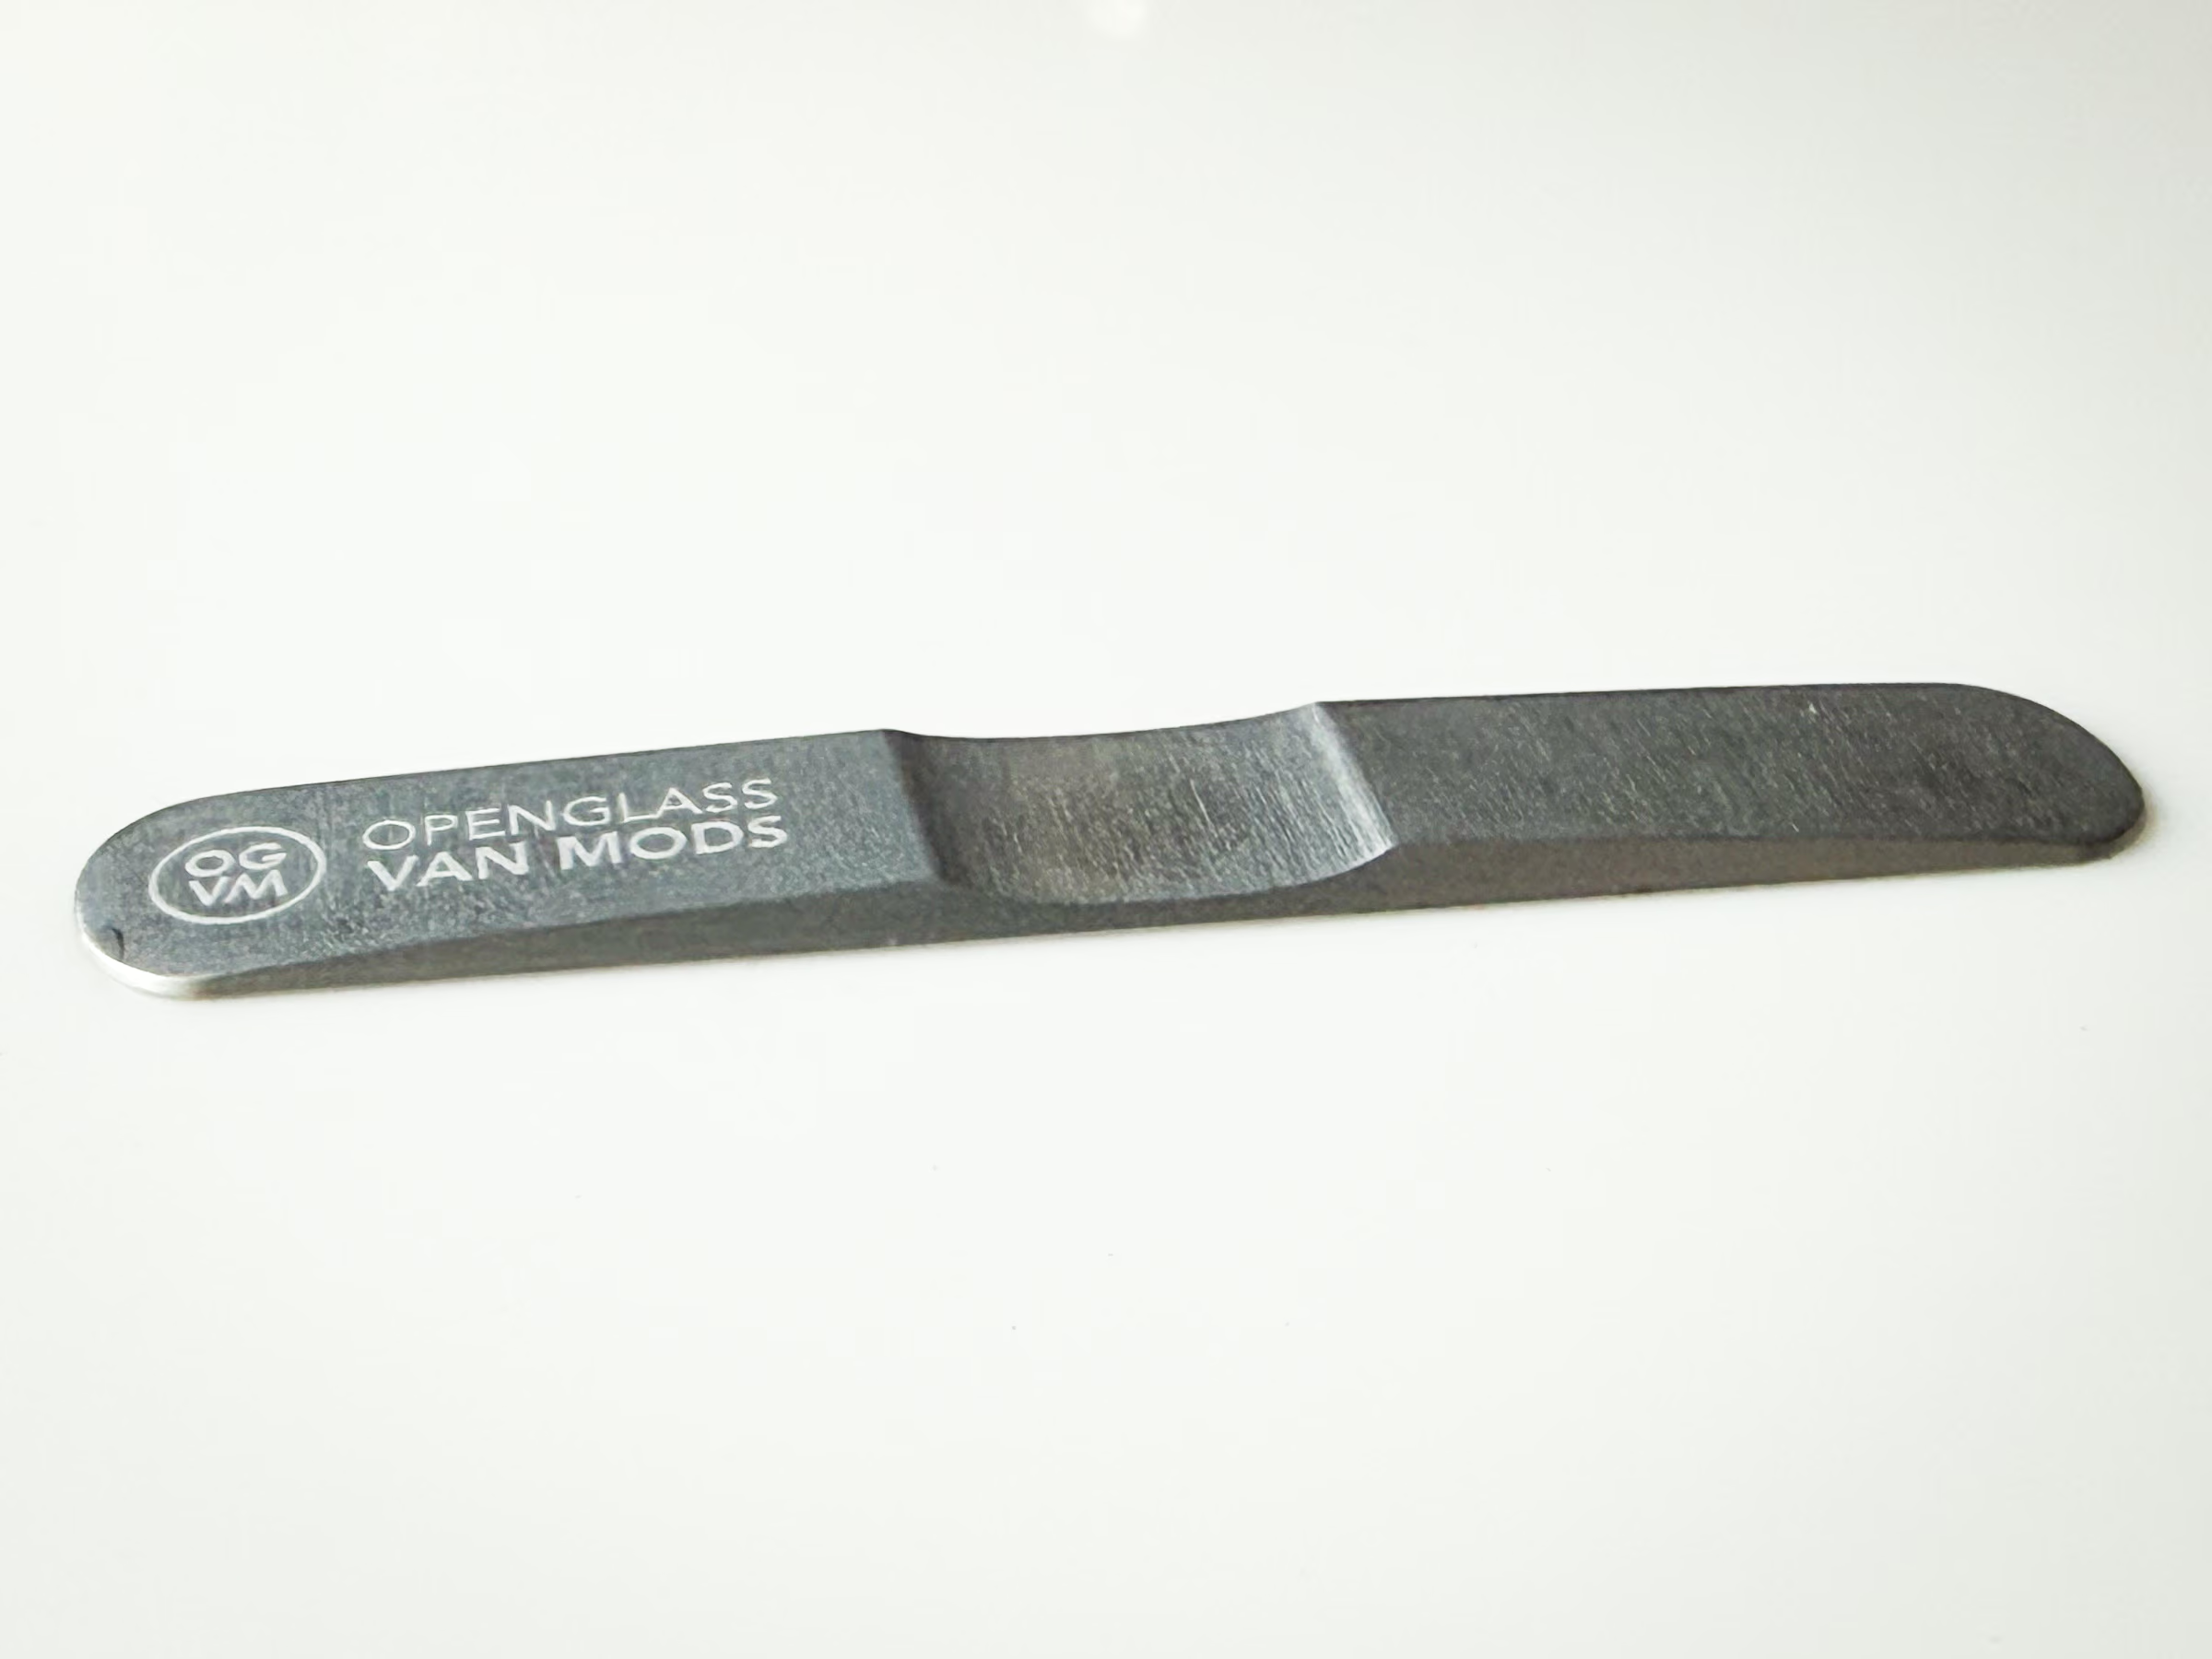
The OpenGlass door stopper is $30 on the OpenGlass site. Amazon’s price is $18, but it fluctuates.
Map pockets
The Promaster used to have the normal “map” pockets in each of the front doors but Ram removed them in 2022 and now there is nothing. In a van, every storage space is welcome, and luckily the map pocket part is still available. They are not cheap, about $85 each at the time of this writing.
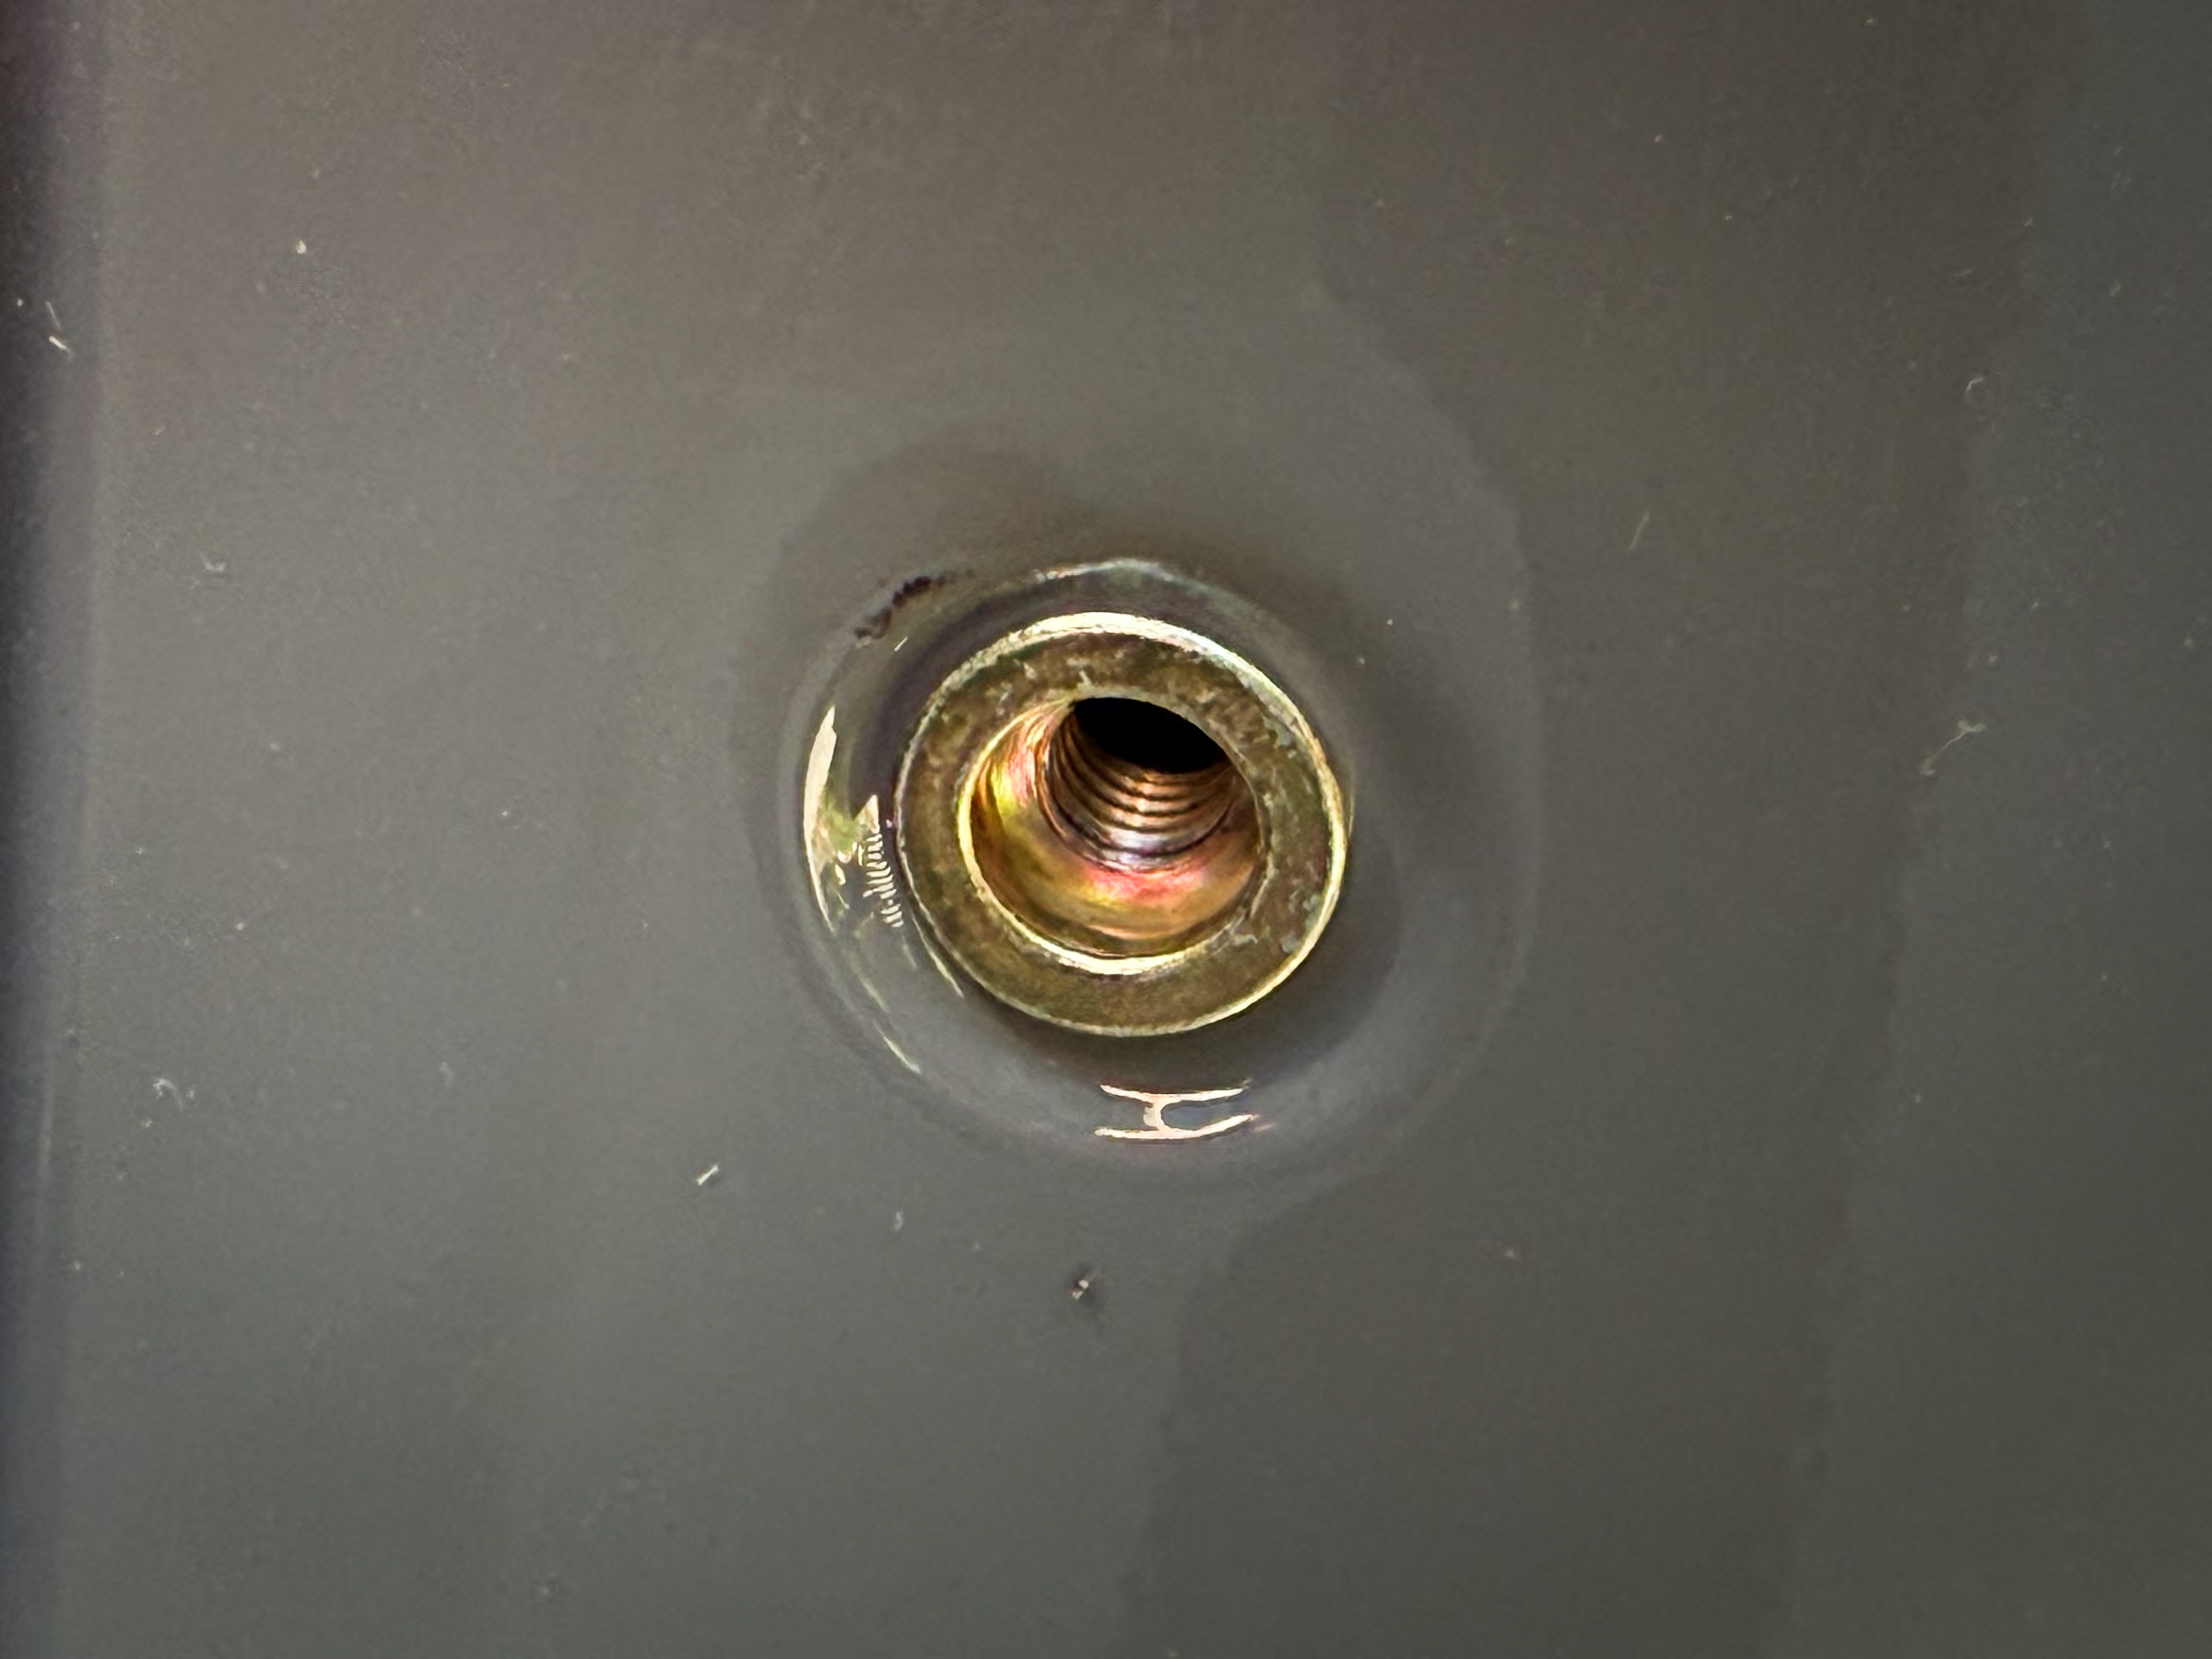
To install them, first remove the four rubber plugs in each door (you can remove them without tools) and install rivet nuts in each of the hexagonal holes with a special rivet tool. Each rivet nut is threaded for an M6 screw. Once installed you simply screw the map pockets into place.

The rivet nut tool is a little unintuitive but here is what you need to know. First, let’s go over the parts of the device (using my own made-up names):

The screw is attached to a cylinder, so I’m calling this the screw cylinder. It spins inside a metal casing. You’ll want to find and screw on the 6mm screw cylinder. Around the casing is a tightening collar. You’ll screw the casing into the device the desired amount and then lock that in place by tightening the tightening collar. How far do you screw the casing in? Trial and error, but see my photo as a starting point.

Then you screw a rivet nut into the screw cylinder. Screw it all the way down with the tool’s handles spread as wide as possible. What’s going to happen here is that you are going to insert the rivet nut into the hexagonal hole in the van’s door and then bring the arms of the tool together, deforming the rivet nut, locking it onto the metal. Try this a few times with a few sacrificial rivets to see how it works. (Pretend doing rivets in the air, don’t pretend to rivet anything to the door.) When you bring the arms together during the install, keep the entire end of the rivet nut flush with the door’s metal—don’t install it at an angle.
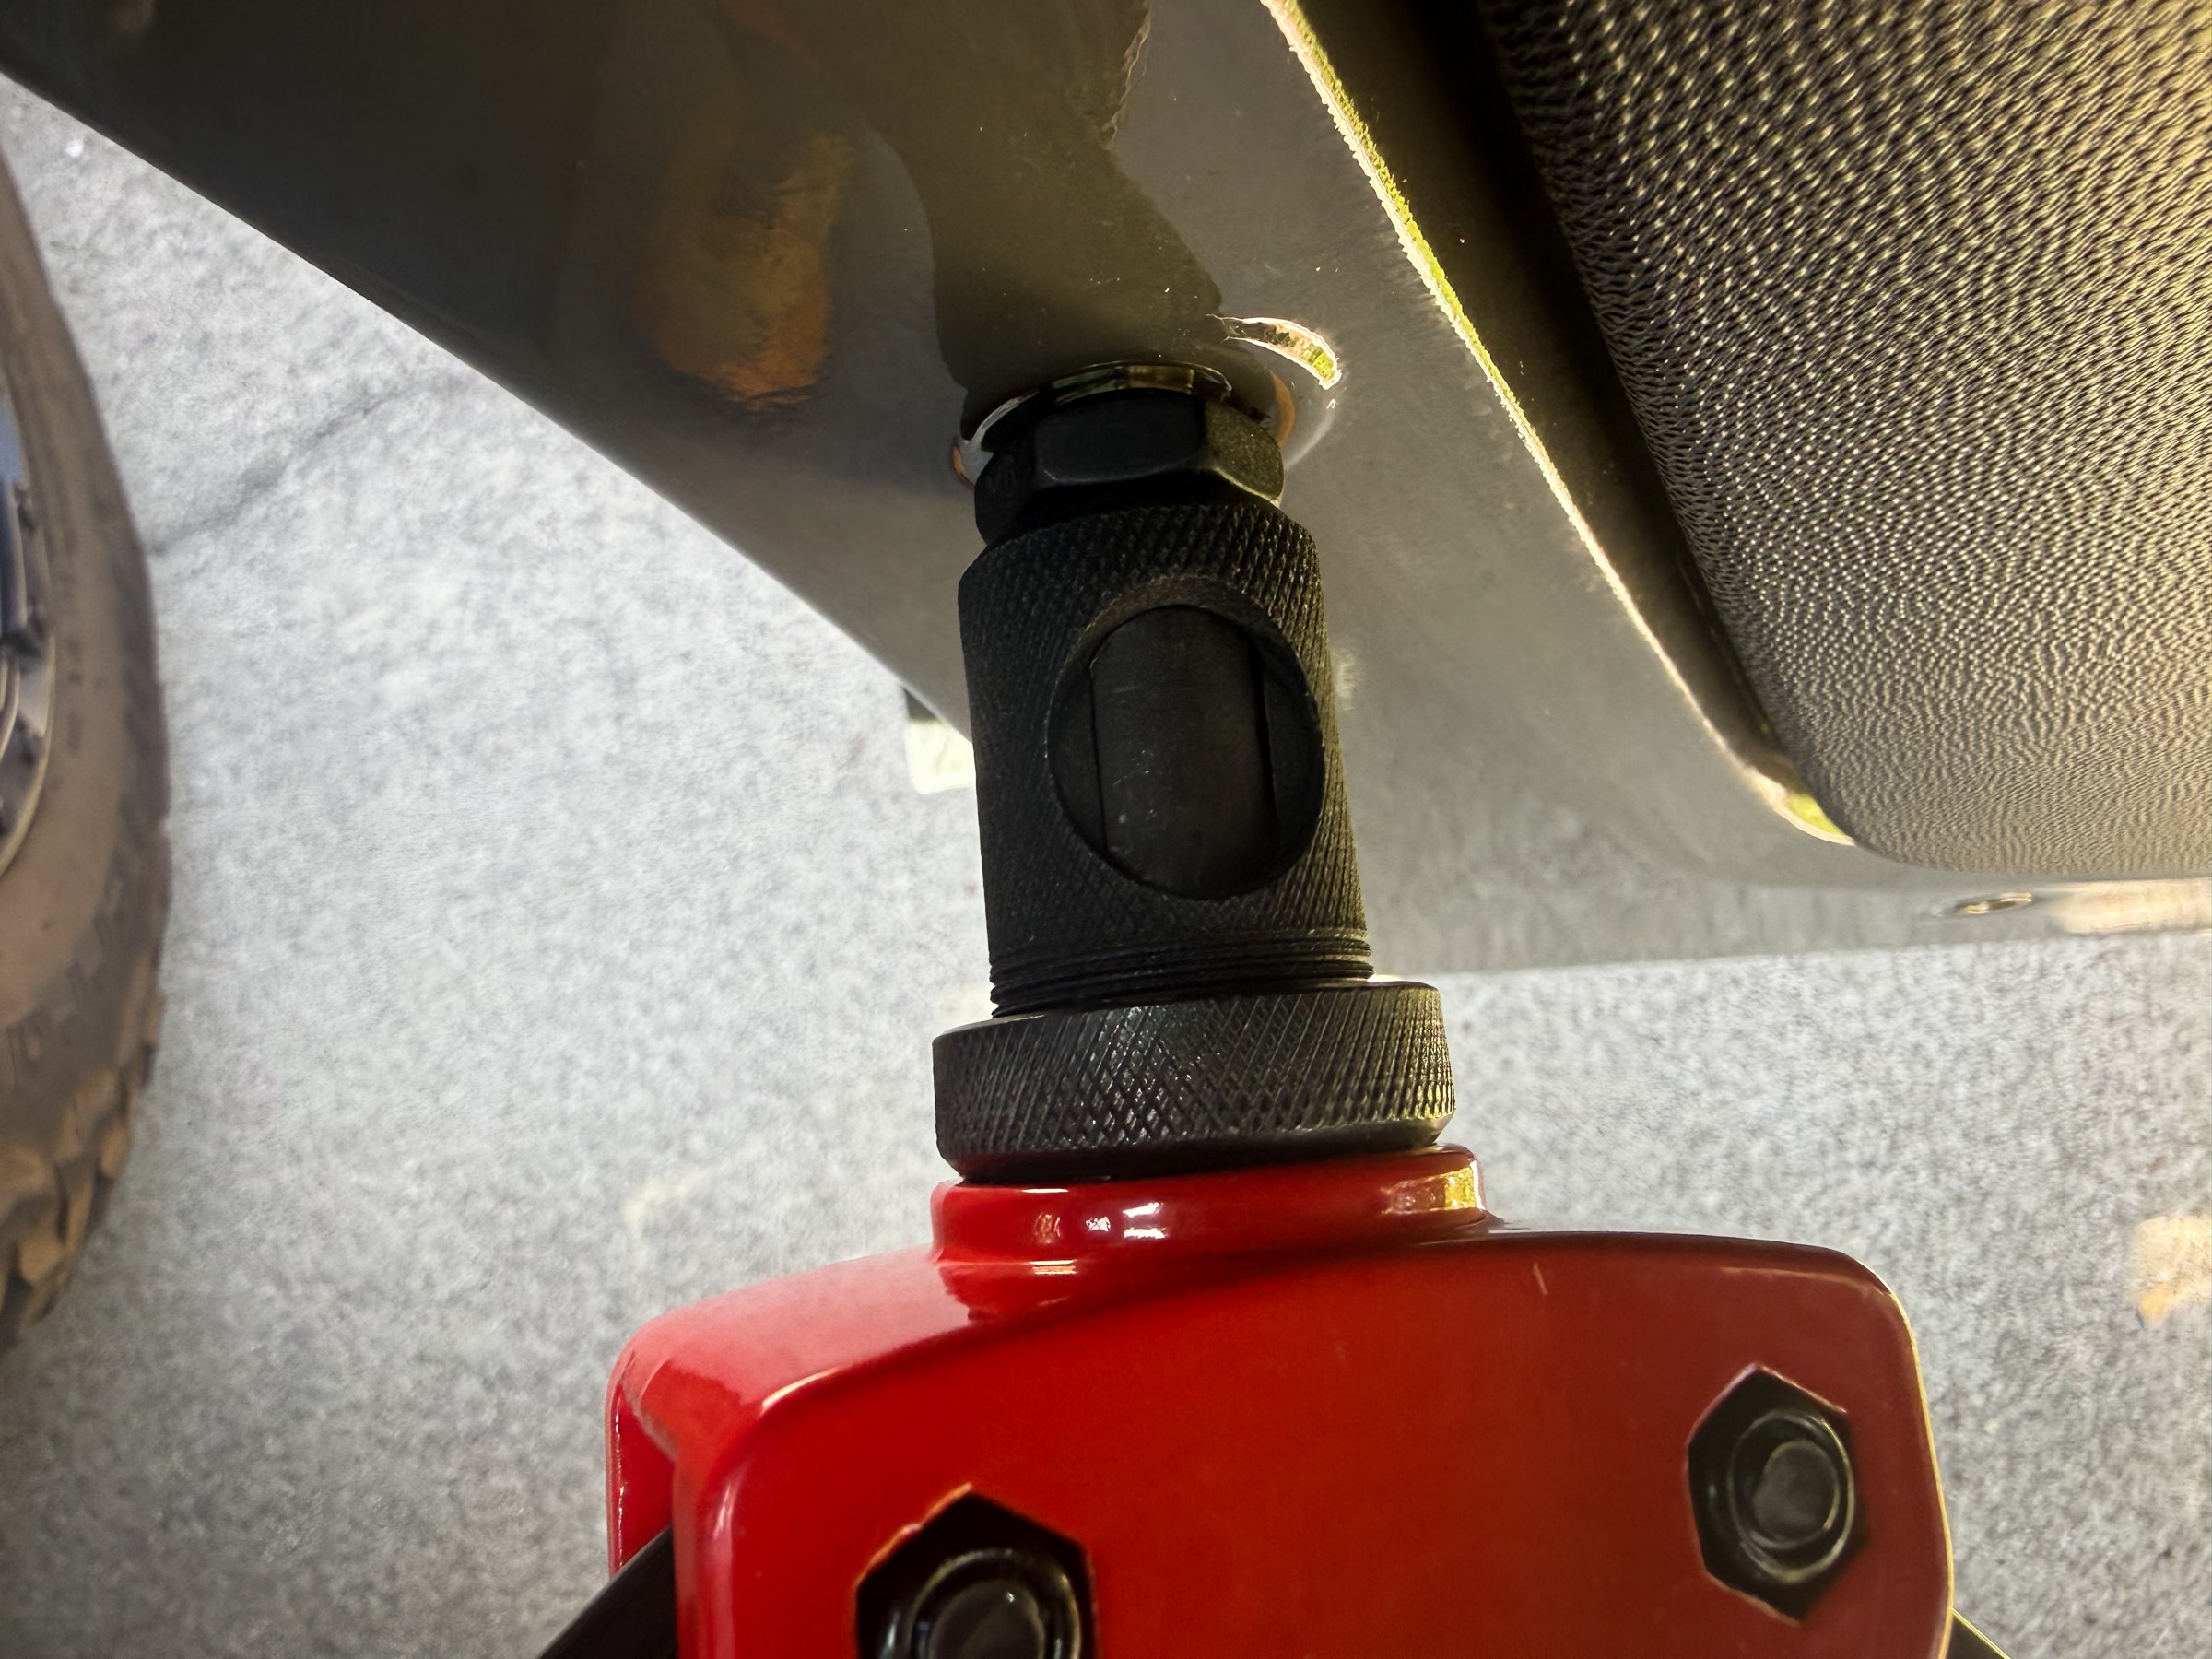
If the rivet is loose in the door, unscrew the device from the rivet nut (by spinning the piece that sticks out between the handles, rather than spinning ing the wheel device), adjust the depth of the screw cylinder, and try again. If you find it difficult to bring the handles together, don’t worry about it—just get the rivet tight. You’ll want to tighten the rivet in several directions to make sure it is fully secure (tighten, turn the screw cylinder by rotating the piece between the arms a little, tighten again).
This is all far more difficult-sounding than it really is.

The left front door pocket is Mopar part #5LE27JXWAA. The right front door pocket is Mopar part #5LE26JXWAA. They are about $85 each, but shop around. Also, test fit them immediately, even if you don’t plan to install them right away. One I received was cut incorrectly or deformed with a large gap at the bottom of the map pocket.
The rivet nut toolkit was $38 and comes with rivet nuts (including 6mm, the ones you need). You’ll also need screws, such as these black-coated stainless steel ones.
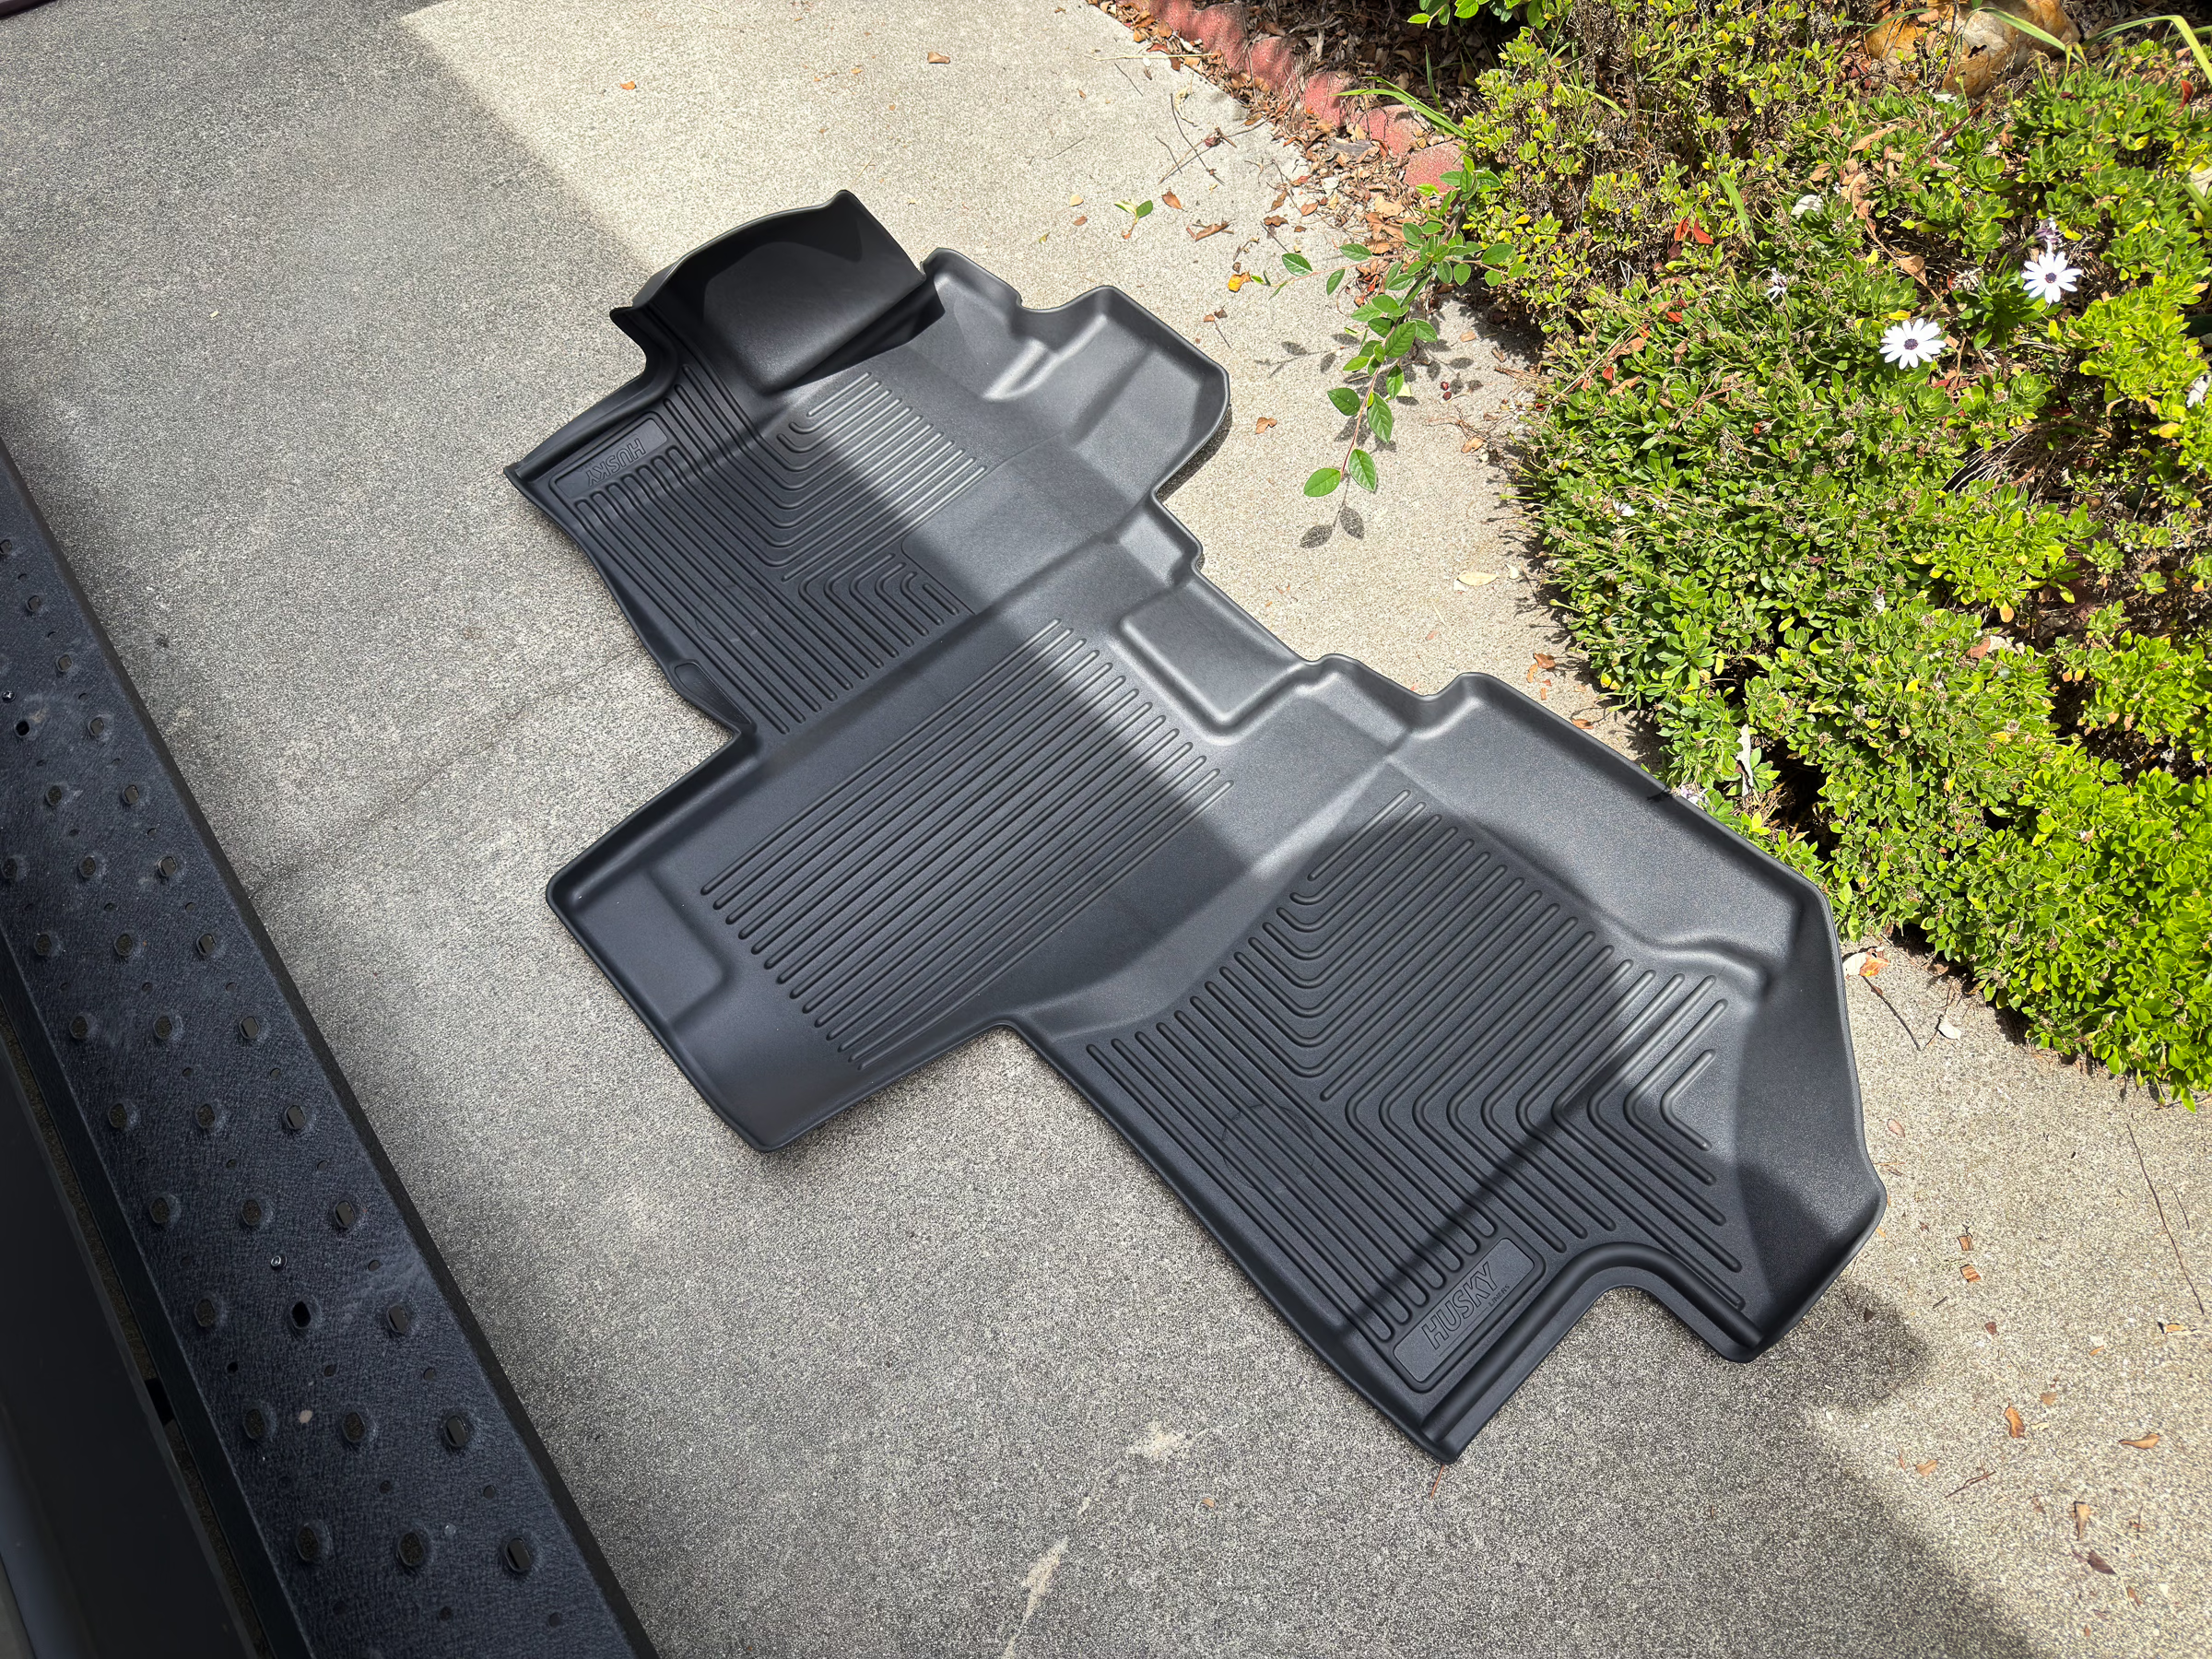
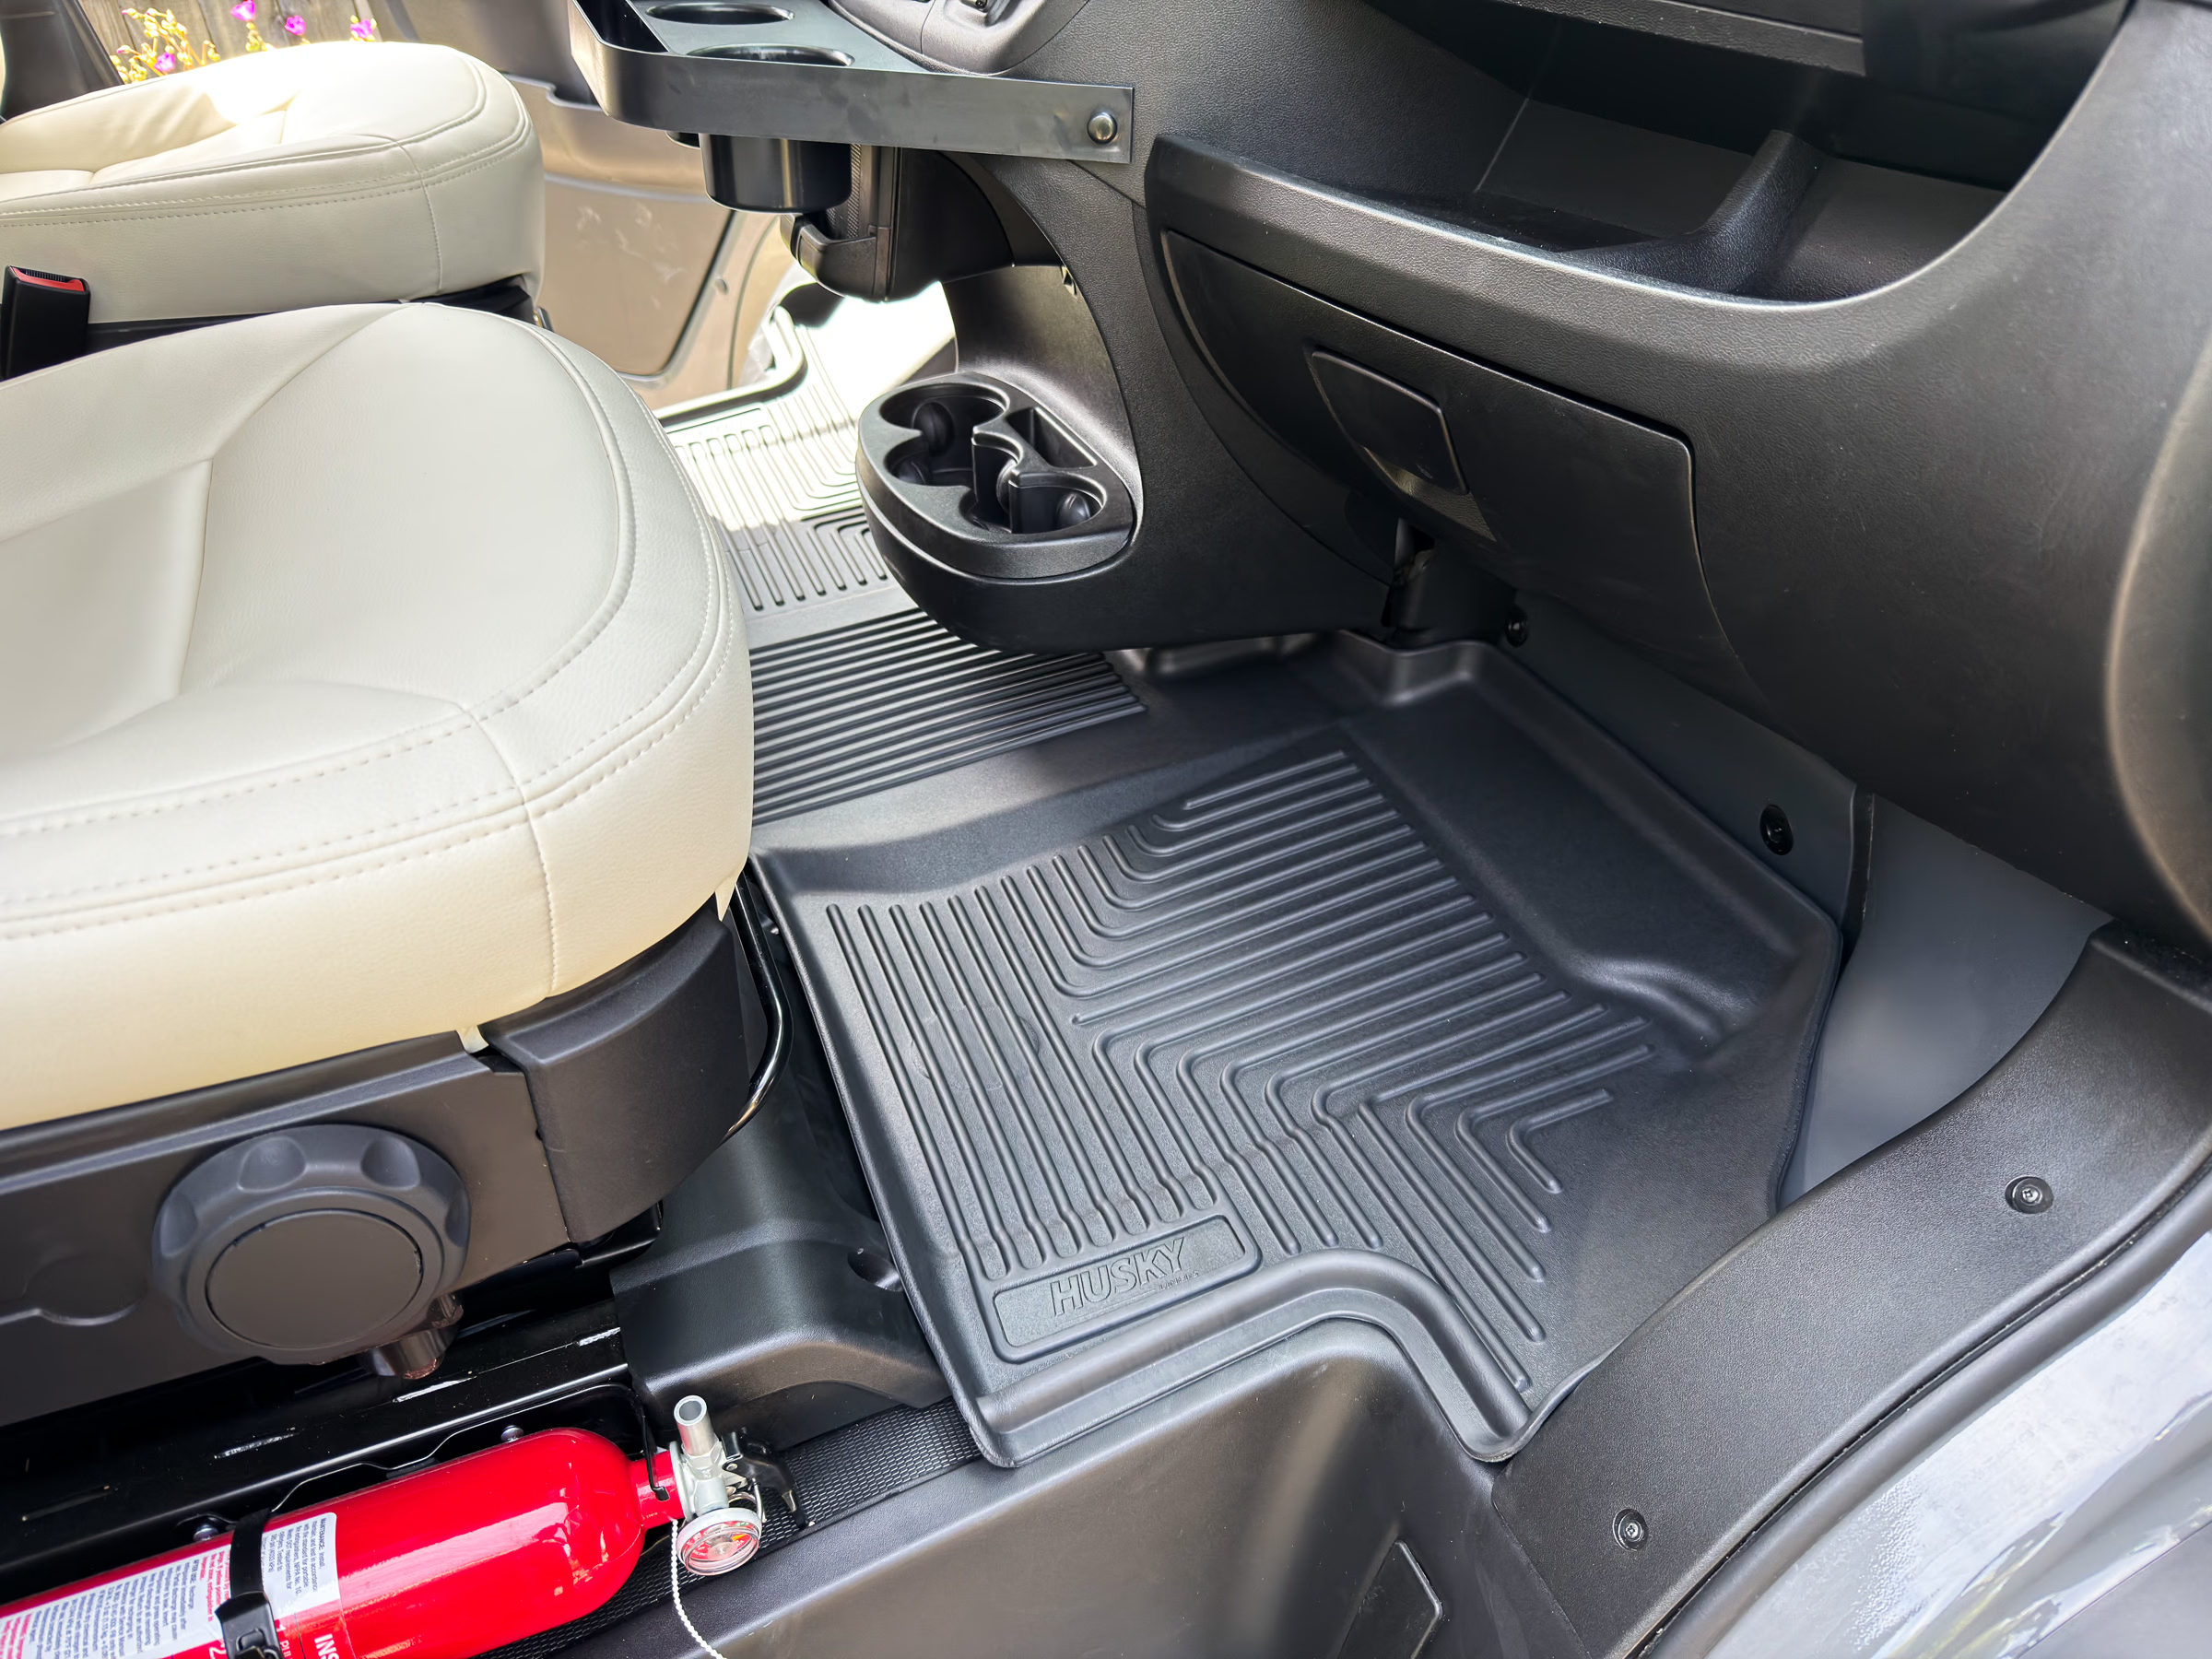
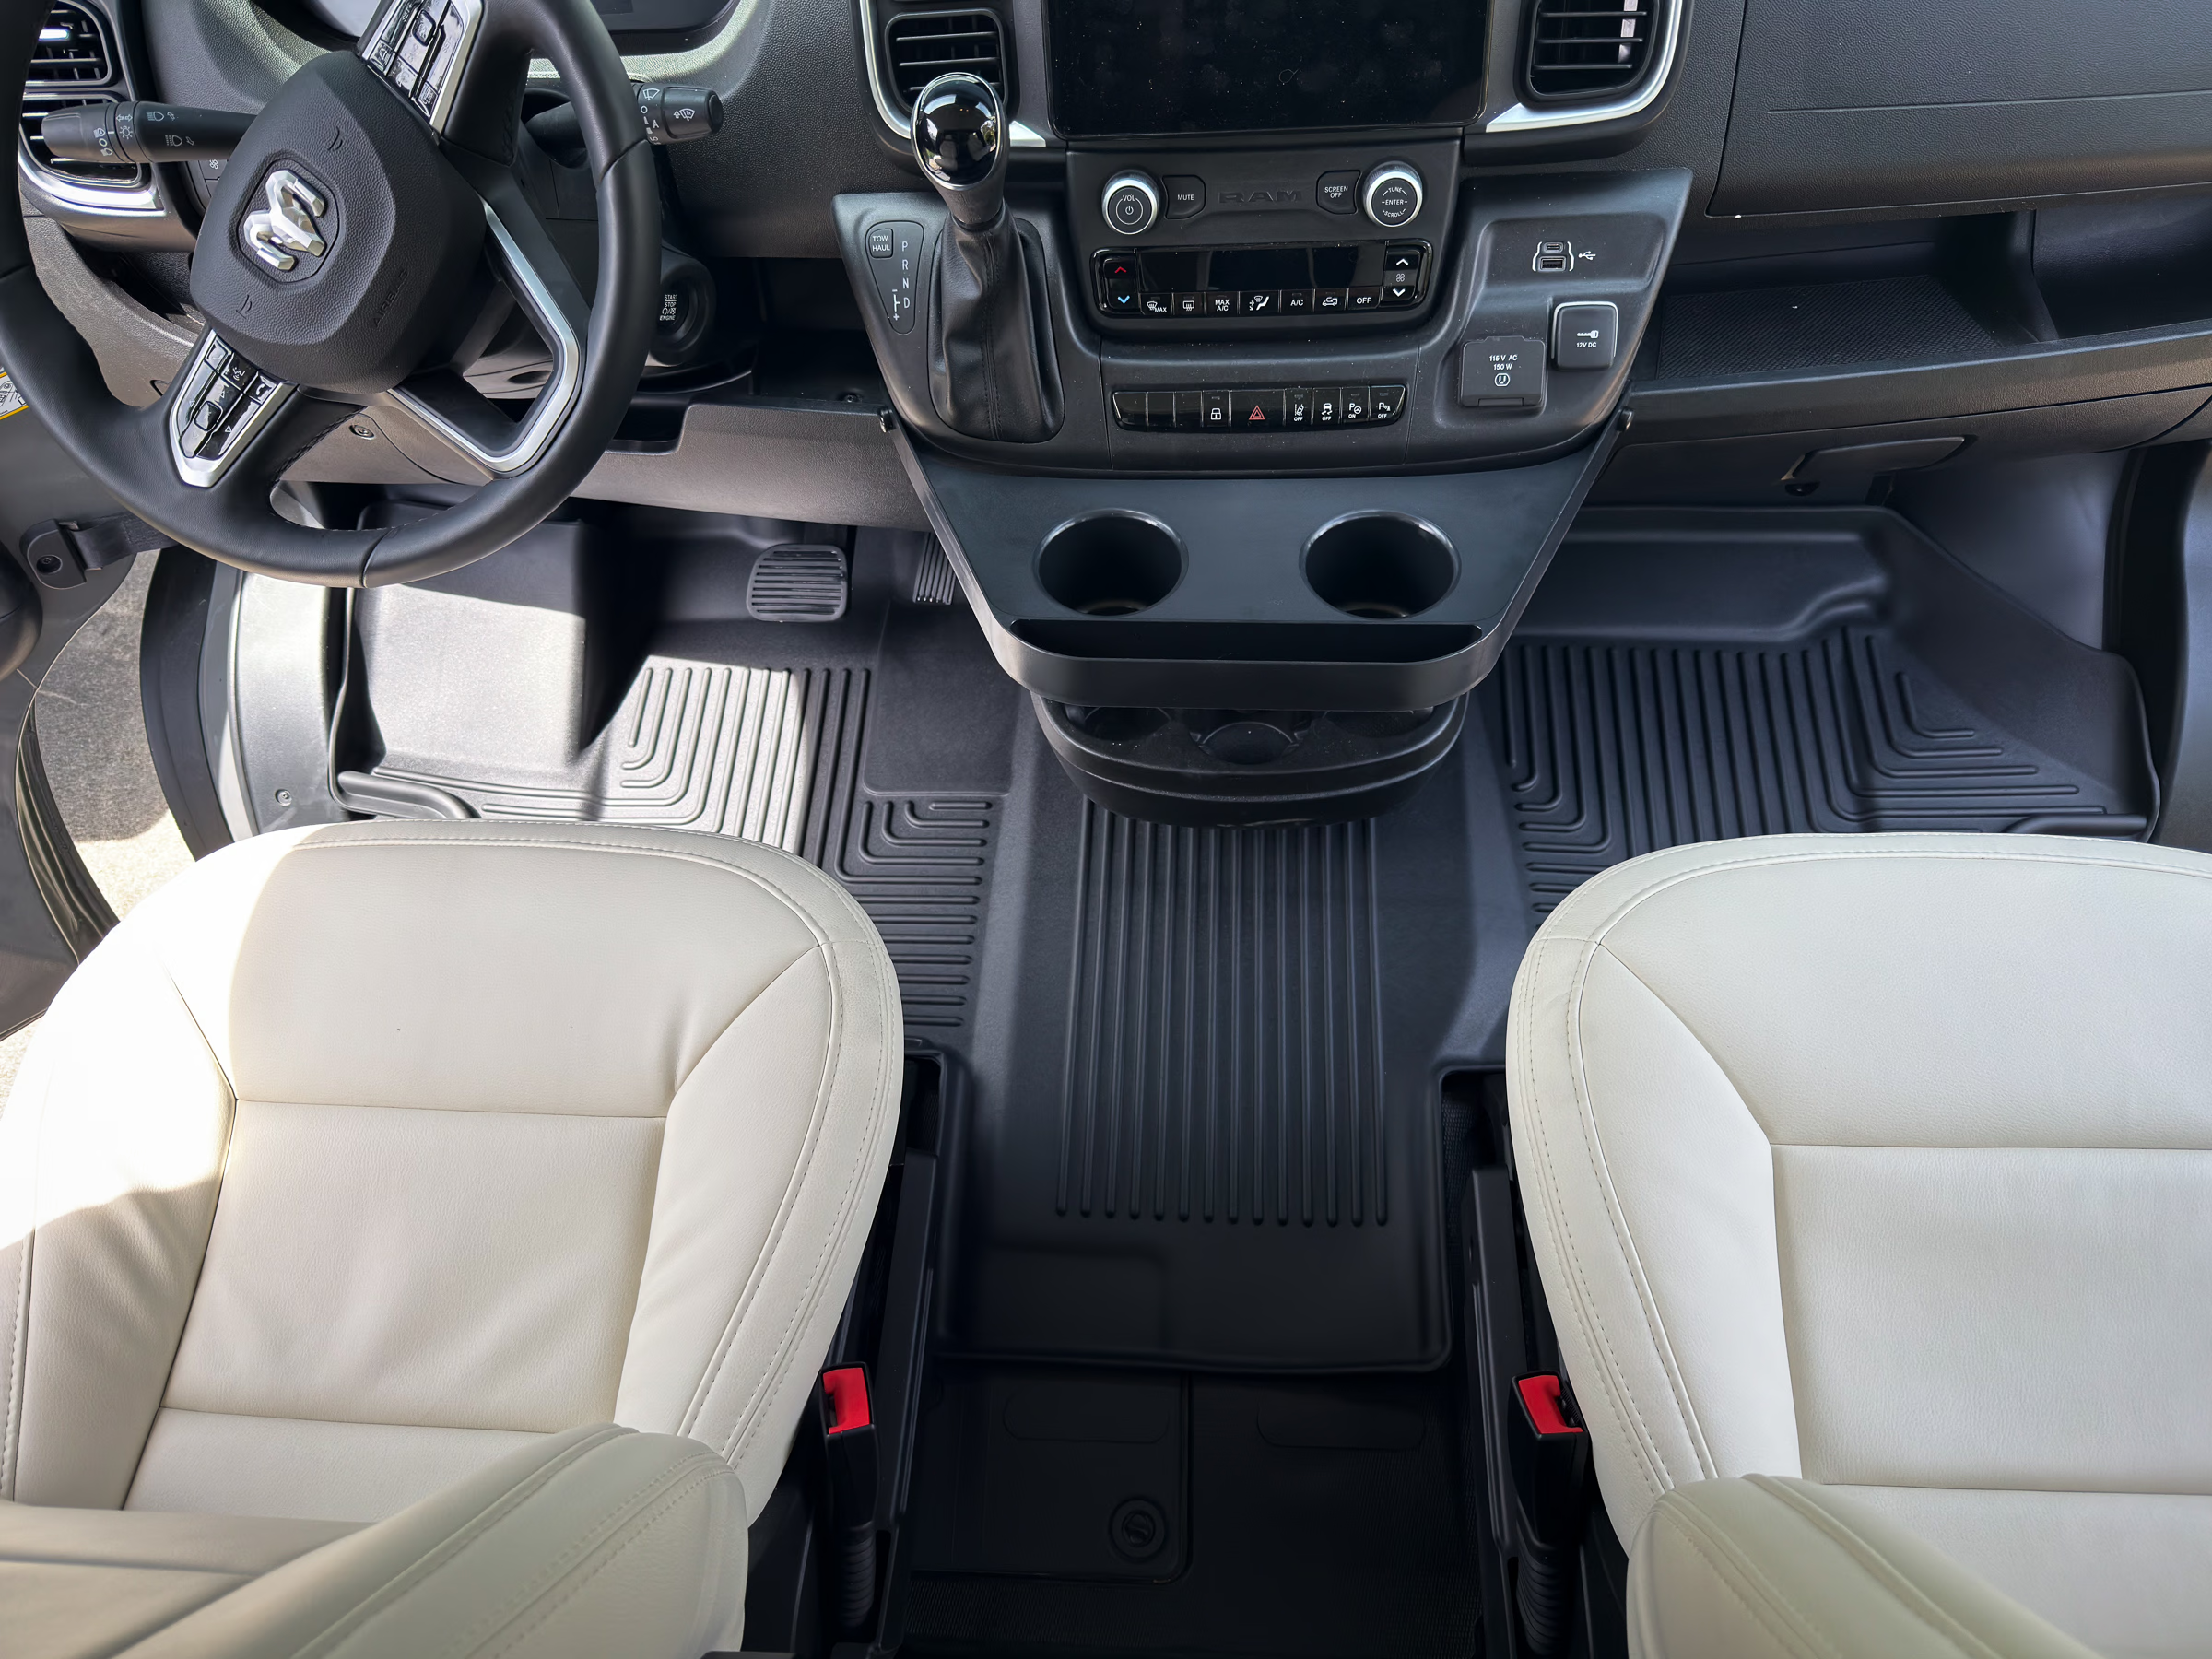
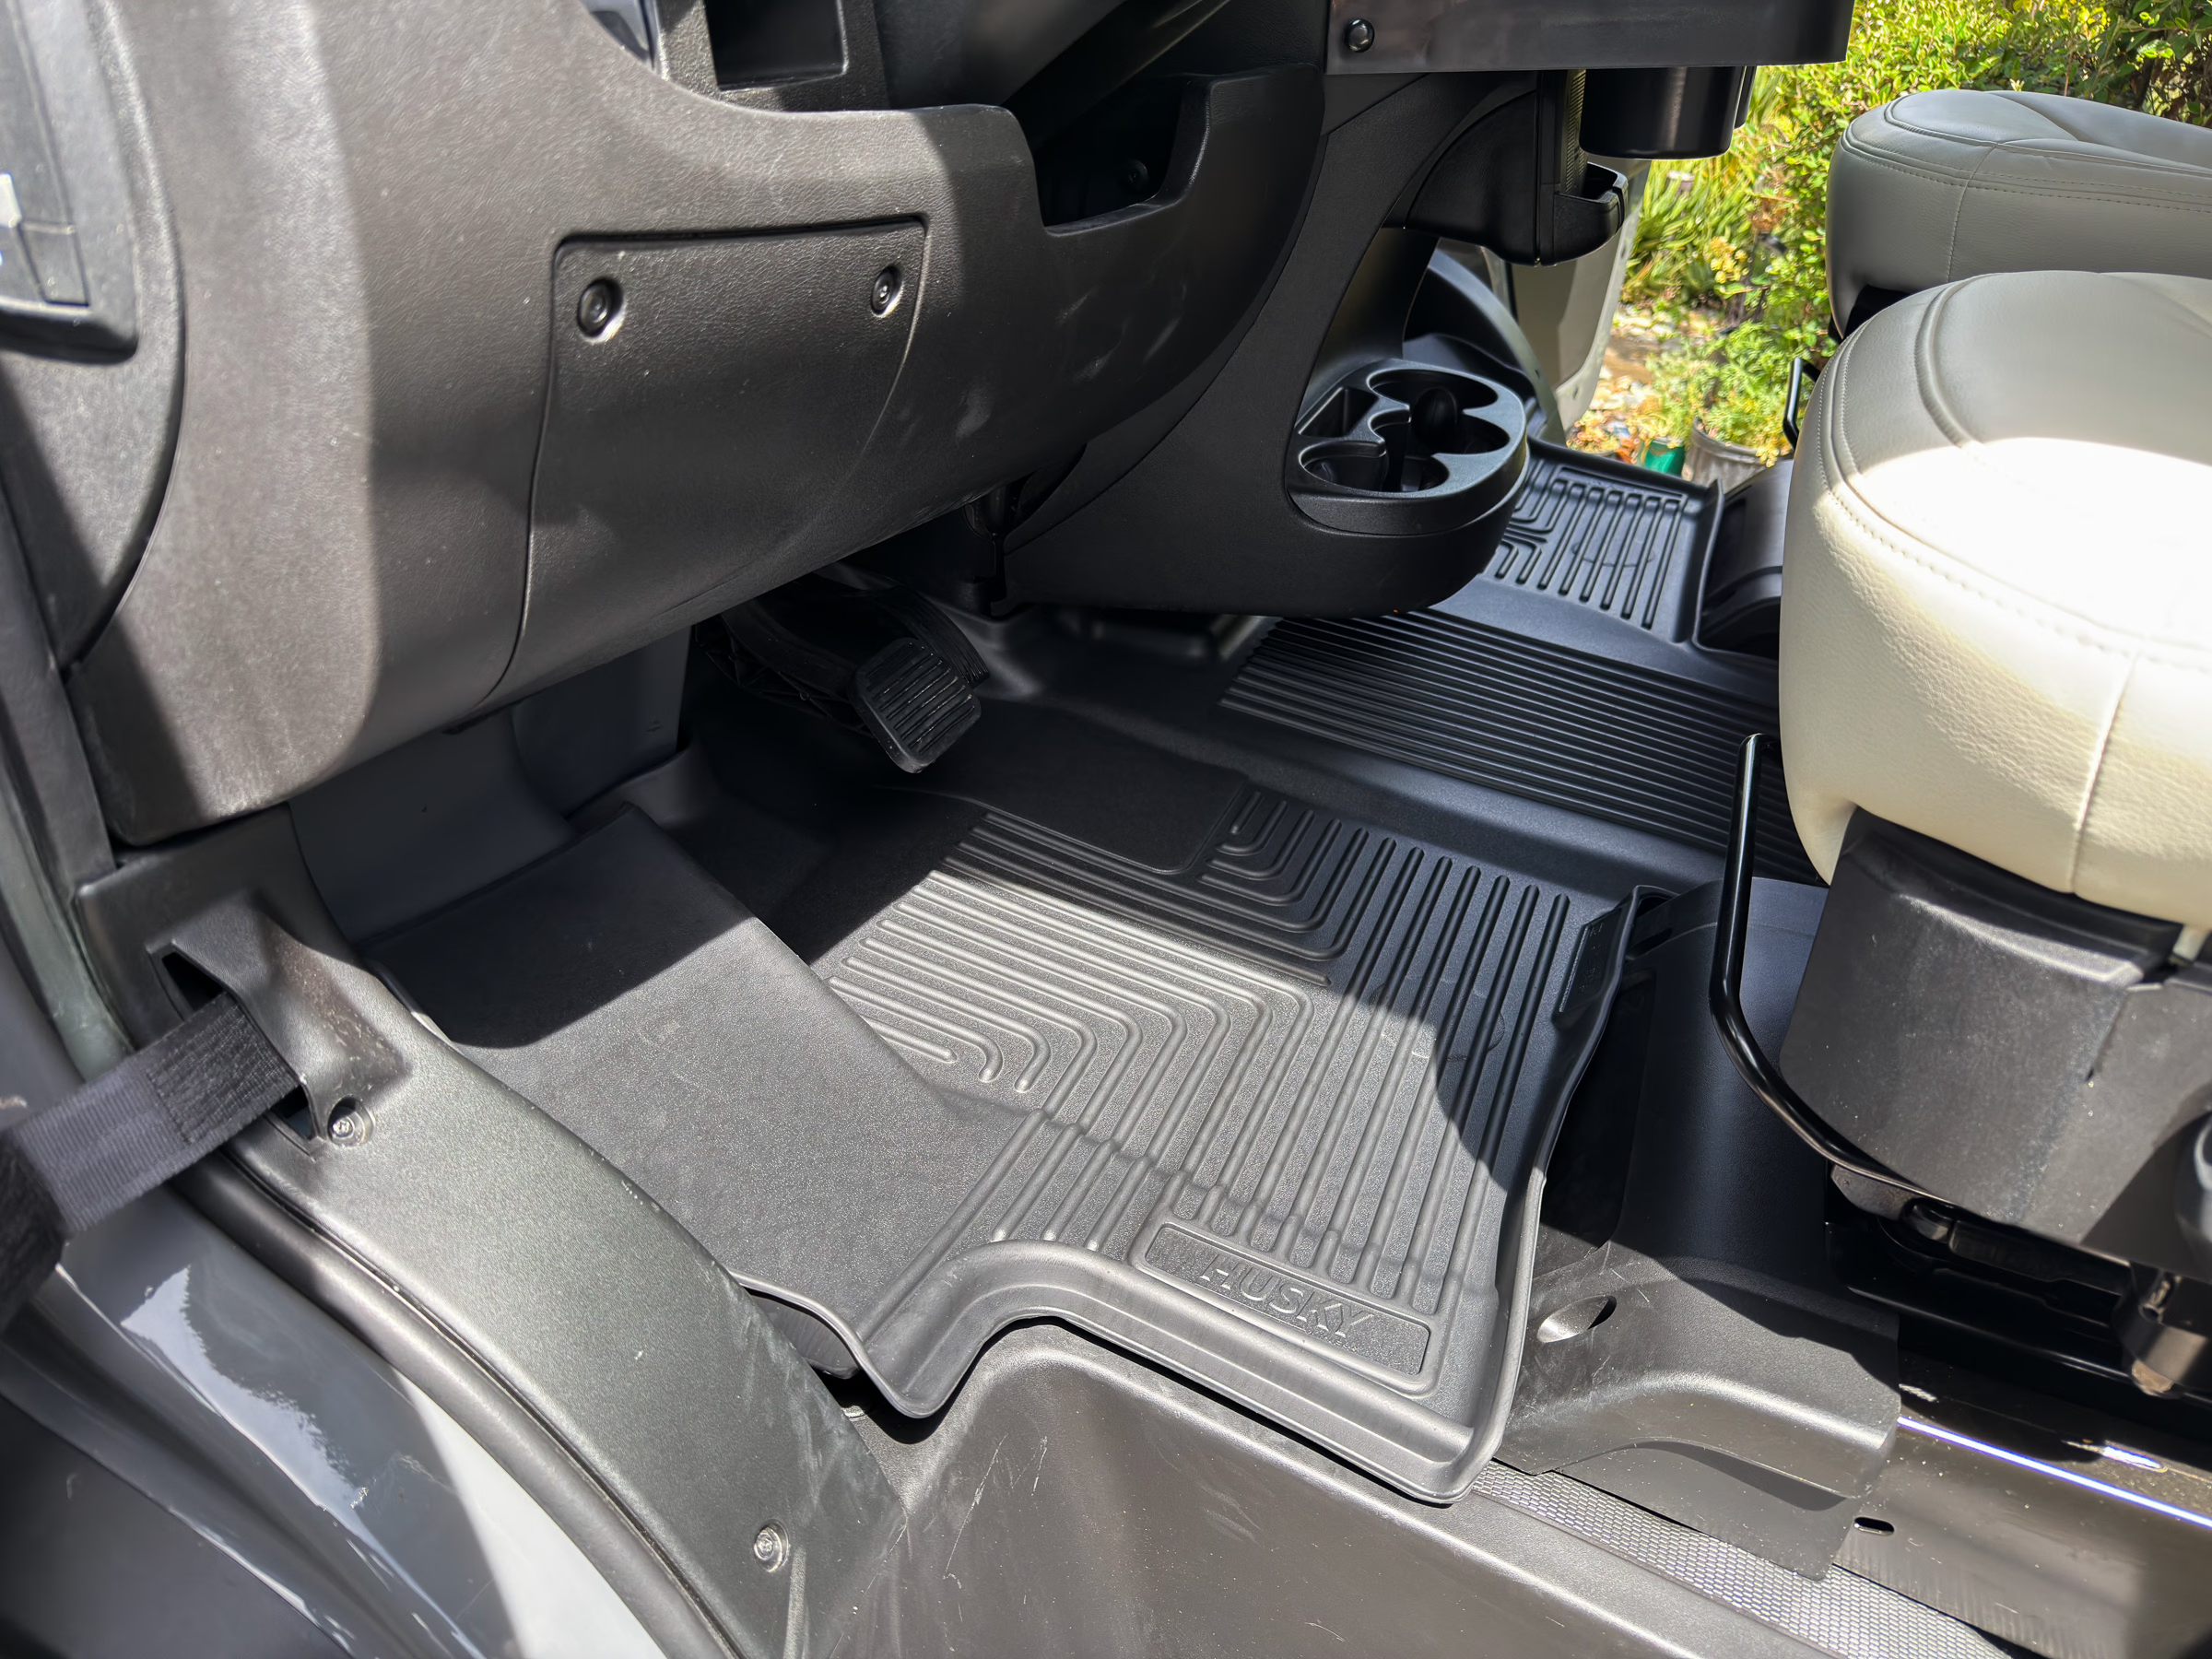
Floor mats
If you’ve priced front floor mats from #vanlife companies, you’ve already found that mats alone are astonishingly expensive—$500, $600, even $700. That’s a lot for front floor mats.
Another solution is this American-made Weatherbeater Floor Mat by Husky Liners, a single-piece mat that fits perfectly, which I purchased on Amazon for about $78. It feels good and looks good.